How To Make A Spooktacular Halloween Bag
Lazies, Want to hear a scary story? How about Dracula, Frankenstein, or the time I used a hot iron on a vinyl bag. I know this seems like a trick, but it’s really a treat! One of the things we know about working with laminates is that you can’t touch a hot iron directly to the vinyl. Right? It’s a simple rule we can all live with for the big pay off of making something with laminates. Well, this Halloween, I’m breaking those rules and I’ll show you how to make your bag stand out from the rest with a fabric applique fused onto vinyl!
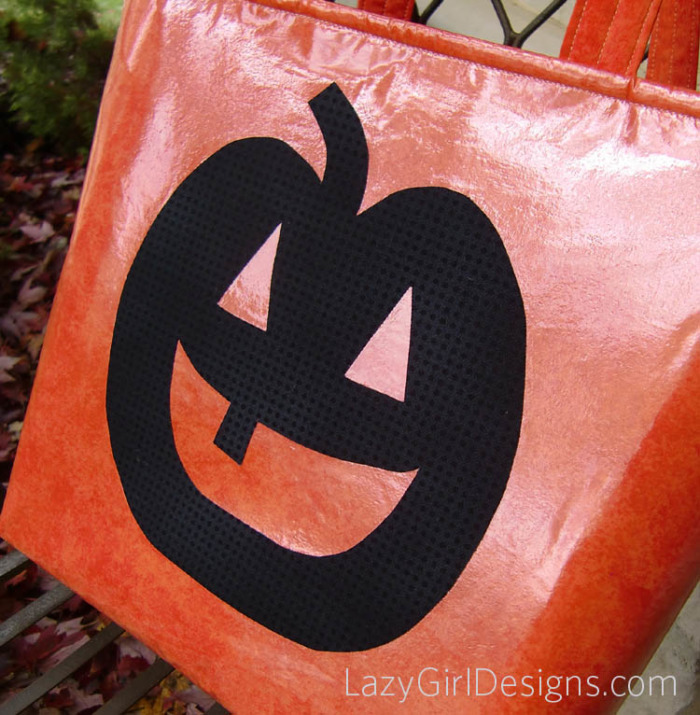
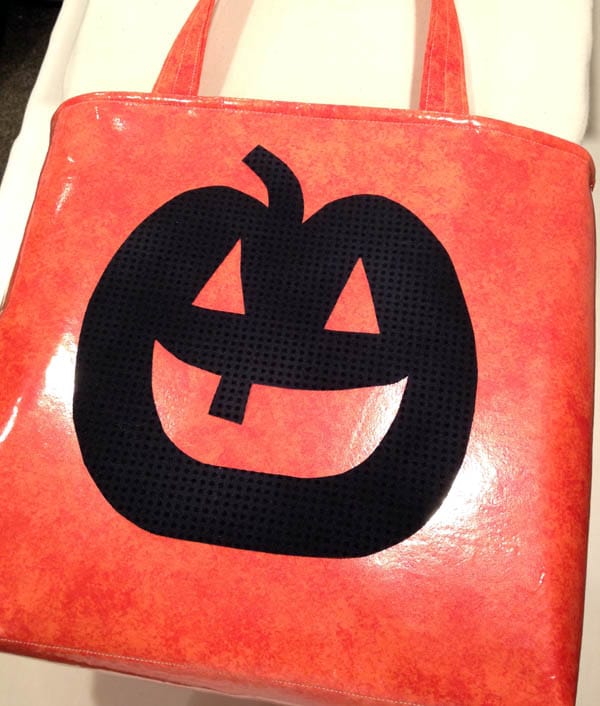
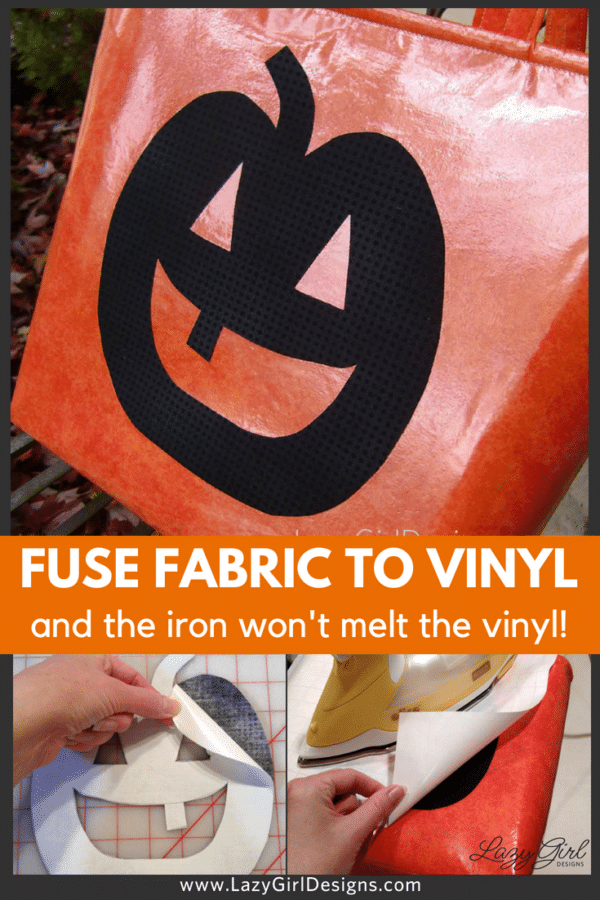
Make your own laminate fabric, use it to make a simple tote, then fuse a design to your finished bag.For this project I started with our Slicker Tote bag made in a pumpkiny orange fabric. And I’ve decided on a simple jack-o-lantern applique in black on top of the finished vinyl fabric.
Project Supplies
Slicker Tote pattern
3/4 yd Slicker Glossy Iron-On Vinyl SLG1021
3/4 yd Stiff Stuff Firm interfacing SLG1071
2/3 yd Outside fabric
2/3 yd Lining fabric
1. Start With A Simple Tote
Make a Slicker Tote using Slicker Glossy Iron-On Vinyl (SLG102) and Slicker Tote pattern (LGD131) from Lazy Girl Designs. Save the paper backing from Slicker Glossy Vinyl, you’ll use it later in the project.
This orange fabric is tone-on-tone with lighter and darker elements which gives the fabric visual depth. Choose a fabric that will read as a solid or plain background so it supports your applique and doesn’t compete with it.
2. Create and Prepare Applique
Decide on an applique design for the front of your bag. Trace your design in reverse, on the paper side of our Fusi-Bond Lite (SLG101) fusible web. Follow the product directions to fuse the design to the wrong side of the applique fabric.
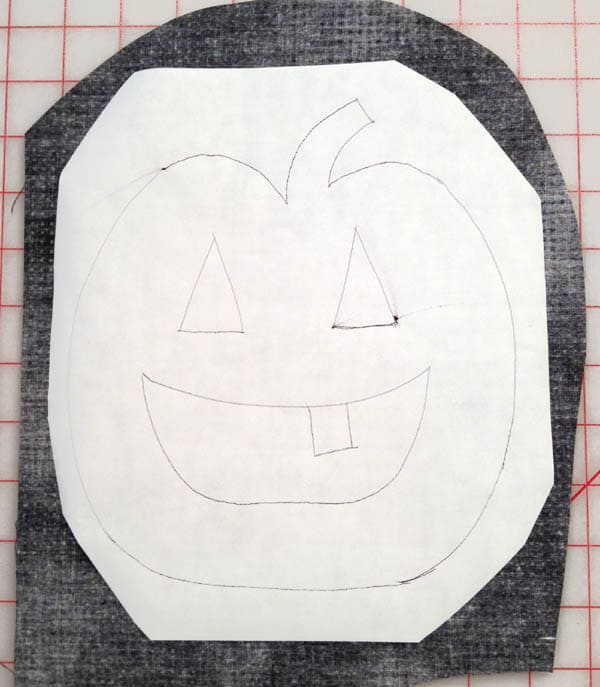
Draw the design onto the paper backing of fusible web, fuse to the wrong side of the fabric.
Let the fusible cool, then cut out your design. Take time to make sure the all of the edges are nice and clean, and there aren’t any loose threads or ragged edges. That will allow the design to fuse neatly all the way to the edges for a good bond.
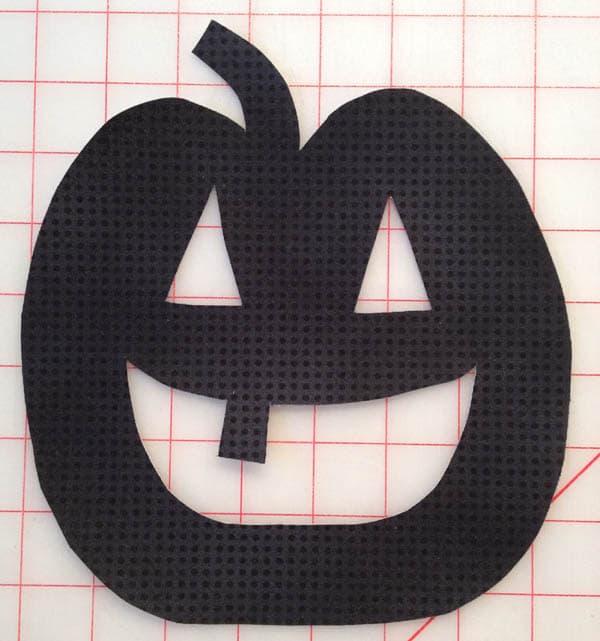
Cut out the design. Make sure the cut edges are smooth and the flyaway threads are trimmed. Make any final adjustments to the shape.
After the fusible has cooled, carefully peel the paper backing from the applique. Watch the fusible web as you peel the paper to make sure the fusible does not pull away from the fabric. If it does, keep the paper backing in place, use the iron to fuse again so the adhesive attaches to the fabric applique, let cool, then continue peeling the paper backing.

Peel the paper backing from the applique design.
Look how beautifully the paper pulls away. You can see the smooth shiny surface of the adhesive, telling you the Fusi-Bond Lite is in tact for the whole applique from edge to edge.
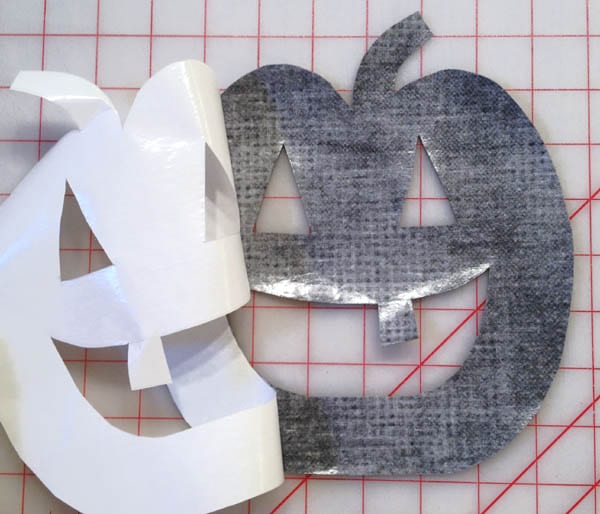
Make sure the fusible web has adhered to the back of the applique fabric. You can see the light reflected off of the adhesive where it looks shiny.
3. Position the Applique on the Tote
I’m featuring one large applique on my Slicker Tote. You could dress up your bag with a multi-piece applique, or a small design off center. Take your time to position your design where you want it. Fusi-Bond Lite has a little grip or tack to it which helps the applique stay where you position it before fusing.
Position the applique where you want it on your project. The adhesive has a little stickiness to it so it will stay where you put it until fused.
4. Fuse the Applique in Place
We’re coming into the home stretch on this project and I’m already dreaming of making more bags. We have one last step to finish adding our design to the tote bag. Remember that paper backing from the Slicker Iron-On Glossy Vinyl? It’s your pressing cloth for this step.
Place the paper backing from Slicker, shiny side down, on top of the applique. Make sure to cover a few inches of the area around the applique. Follow the Fusi-Bond Lite directions to fuse the applique to the tote.
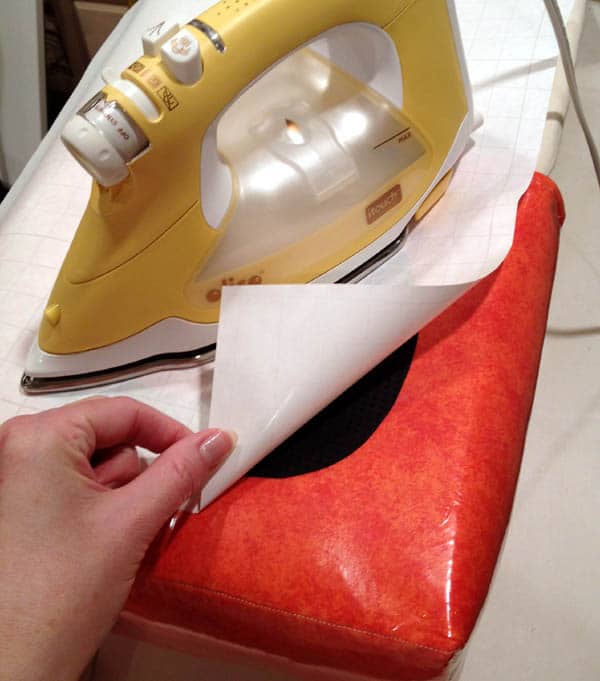
Cover the entire applique with the paper backing from the Slicker Iron-On Glossy Vinyl, with the shiny side down. Make sure the paper backing is large enough to cover the entire area, including a few inches around the applique. Press with the proper iron setting to fuse the applique to the bag.
The Big Reveal
Peel away the paper backing and viola! You have an applique fused to a laminate – breaking all the rules and creating a mix of textures and visual interest. Pressing to fuse the applique did not damage the vinyl at all. The Slicker vinyl can be pressed again and again as long as you use the paper backing as a press cloth. Tip – after your project, roll paper backing and tuck it away for safe keeping. You might want to use it again on another project.
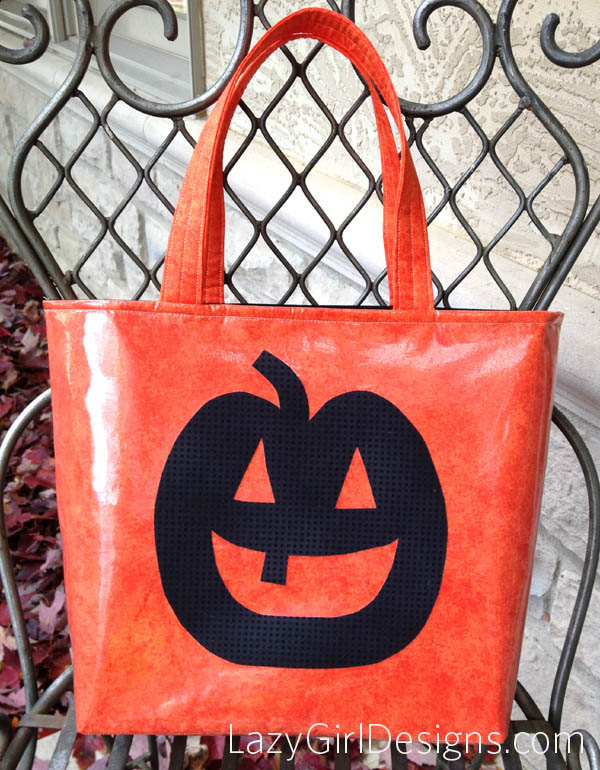
This fusing trick is as easy as can be and the results are fantastic.
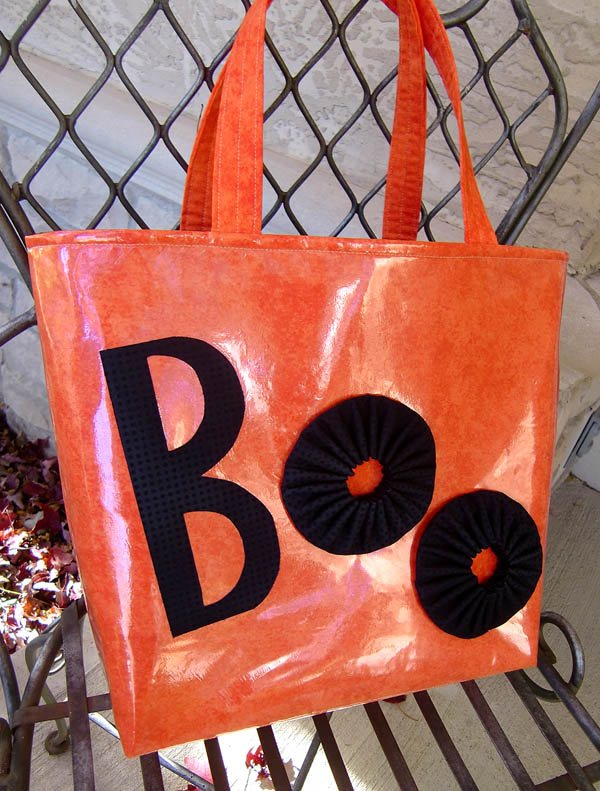
Get Creative and Try Different Designs
I loved the bag so much that I also made a ‘Boo’ bag. The ‘B’ is an applique like we did for the first bag. The rest of the word is made of fabric yo-yo’s. Here’s a secret – I put a little orange fabric inside to turn the yo-yo into a letter. I hand-stitched the yo-yo’s to the front of the bag.
That’s Pinterest-ing!
Join me on Pinterest here, remember to ‘Follow’ me there, and pin this post and pics to your Pinterest boards to save this idea.
Subscribe to receive emails for my blog and newsletters about new patterns and project ideas.
Enjoy!
Joan
Joan’s Sewing Group | Pinterest
Like and share this post with your stitchy friends.


Cute!!
Love it. Darn, too late in the year to make 2 & mail them across the U.S. to Grandchilddren in CO. Will have to start early next year on this project!
Thanks!!!!
Ooh Christmas tree with the trimmings!
Love this idea! And bag! 😀