3 Expert Tips for Sewing Zippers That Won’t Leave You Sour
Three expert tips for sewing zippers that won’t leave you sour.
Lazies, I can’t handle lemon. In fact, I can’t handle tart or sour at all. My whole face puckers. I’m pretty sure I feel it all the way to the funny bone in my elbow.
I’ve had a life-long stand-off with lemon.
And then, I didn’t.
What changed?
Lemon crossed my path in a way it hadn’t before.
And it opened my eyes and played nicely with my tastebuds.
And I was stunned.
Stay with me here, I’m going somewhere stitchy with this.
It all started when I picked up some lemon crumb cake for hubster Michael.
And I tried a bite.
And oh my goodness…
It was the best crumb cake I’ve ever had.
And it was lemon, for goodness sake.
How could that be?
My eyes were opened to the fact that something lemon could taste good to me, and not leave me with a puckered face and tingly elbow.
Dad Set The Standard
I grew up thinking my dad’s taste buds must be dead because he ate things I thought were truly scary.
He ate fresh lemons like oranges.
And raw onions like apples.
And, oh my, Limburger cheese – need I say more?
So I thought food made with lemon must appeal to people whose taste buds had long ago died. Otherwise, they would taste the sour/tart that made my face distort. And it has truly left me mystified my whole life.
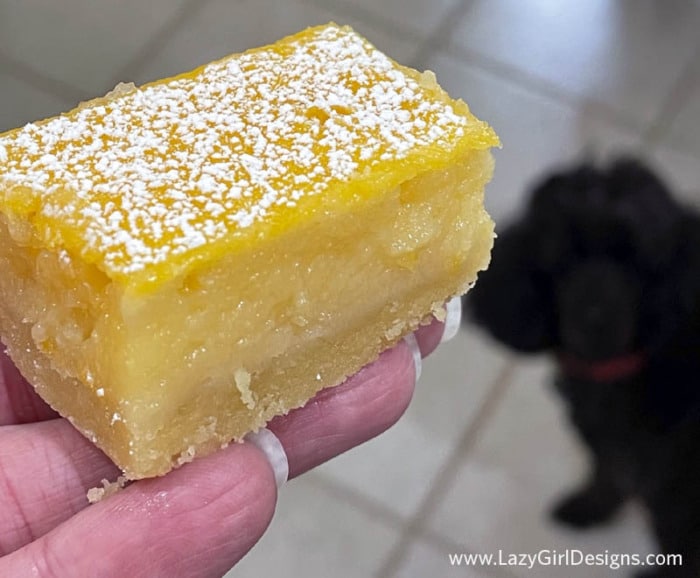
Miss BonBon is hoping
for a bite of this yummy Lemon Bar.
After my eye-opening experience with the lemon crumb cake, I set out to try making lemon bars, a fave of Michael’s.
My first attempt was pretty successful. The bars were good and I expect that I’ll make them again.
Then I thought…
How many good lemon bars have I missed out on?
Probably a lot.
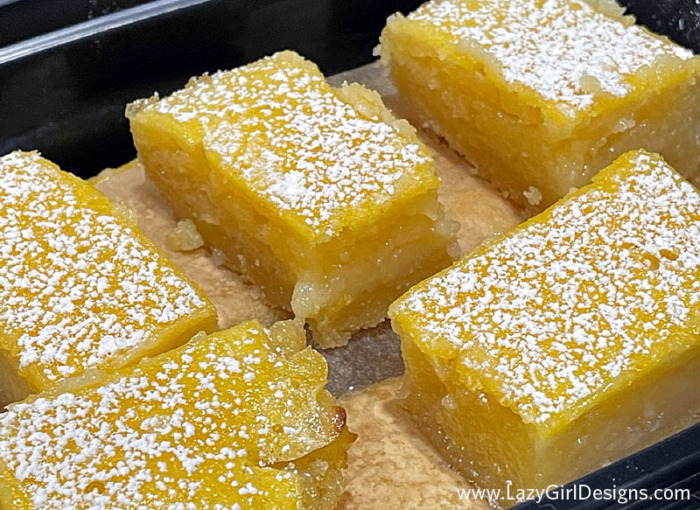
I could have been enjoying many,
many lemon bars over the years.
This brings me to zippers.
Zippers are the biggest thing you tell me that leaves you sour.
Not cutting, sewing, selecting fabric, choosing interfacings, buying a sewing machine, or anything else.
Installing zippers is just plain scary.
Maybe you had a bad experience and zippers make your face pucker or your funny bone tingle.
 How can something so pretty be so scary?
Just as I had a friendly encounter with lemon in the form of that tasty crumb cake, my collection of patterns have 10 different zipper installations that are all friendly and might make you smile.
And none of them are the scary instructions you find inside zipper packaging that have you install the zipper blind, upside down, backward, and hidden between the fabric layers.
The instructions on the package have always left my face puckered.
Why Are Zippers Scary?
Part of what’s scary is working around the zipper pull and the metal stops at the top and bottom ends. These elements don’t always play nicely with the presser foot or needle.
Sometimes while stitching, the zipper might move and you’ll have to un-sew a bit.
Maybe the line of stitching gets a little wonky or crooked. Ugh.
These things have happened to me. These bad experiences could turn you off from ever trying a zippered project again. So I’ve got three sure-fire tips to get you back on track and loving zippers.
3 Expert Tips for Sewing Zips
1. Use a longer zipper than you need.
My Runaround Bag pattern uses a longer zipper than needed so you can avoid sewing near the zipper pull and the metal stops at the top/bottom. Gosh, that’s like getting on the highway at rush hour and having the road all to yourself.
 My technique on the Runaround Bag
creates a perfect finish.
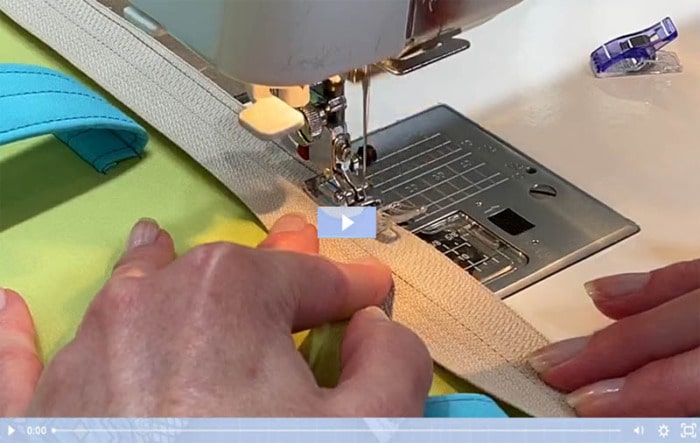
2. Try different presser feet.
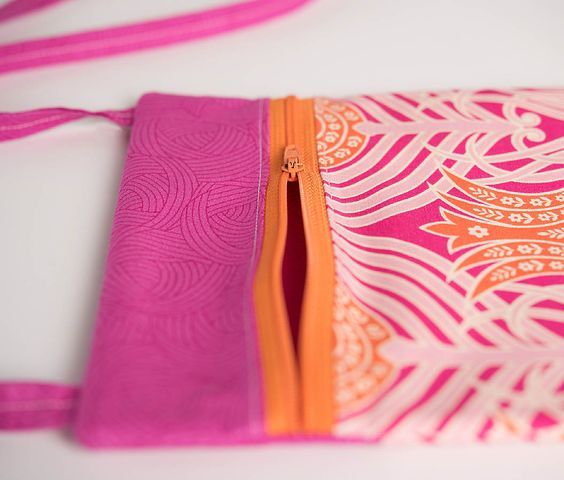
The zipper foot is designed to stitch really close to the zipper teeth. That’s great for apparel sewing where the zipper is hidden under a fabric placket. The Harper Holdall showcases the zipper and it’s nice to see some of the colorful fabric tape next to the zipper teeth.
I use the standard presser foot and run the edge of the foot along the ridge of the zipper teeth. That allows me to stitch a straight line and expose an even amount of that beautiful zipper tape.
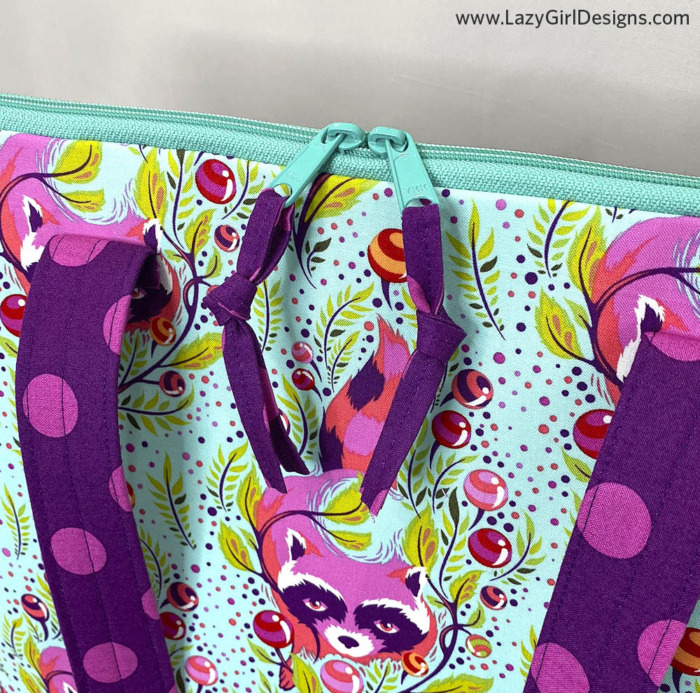 The zipper tape color acts as an accent on this Harper Holdall.
Join me in class and learn my
presser foot tricks for a perfect zipper installation.
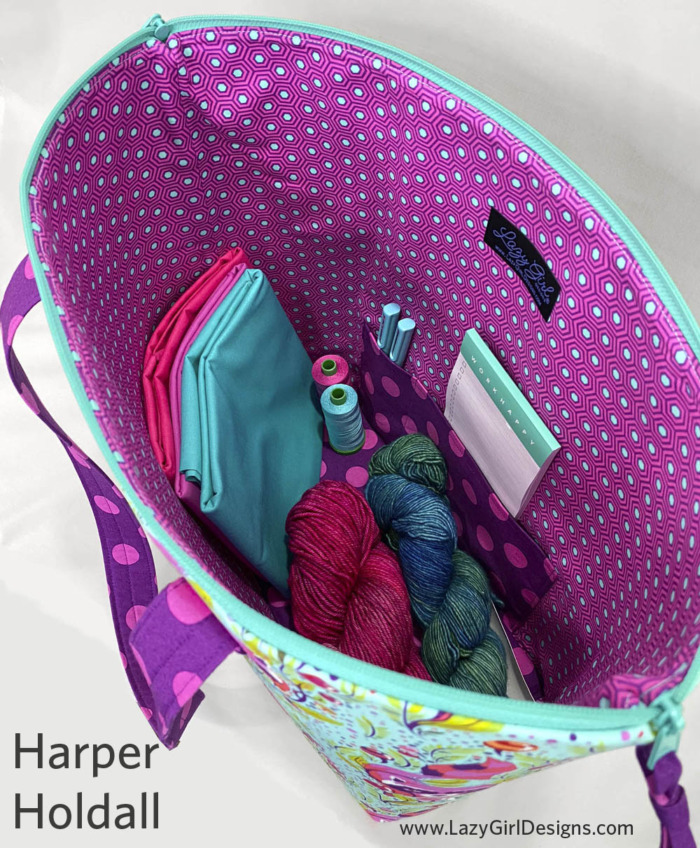 Look at that beautiful zipper!
 Join me in the Harper Holdall online class with video lessons and
learn my presser foot tricks for a perfect zipper installation.
3. A bit of double-sided tape is handy.
Use a narrow strip of Res-Q double-sided sewing tape to hold the zipper in place while sewing. This type of tape comes in different widths. I like 1/8″ wide tape. If you can’t find it that narrow, cut a wider strip in half. Place a piece of tape on your cutting mat and use a ruler and old rotary cutter to cut in half. Make sure it says sewable on the packaging so you know it’s safe to stitch through.
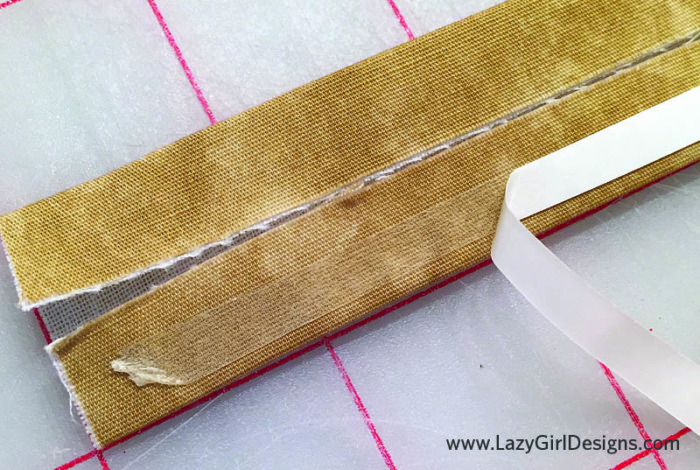
Add a strip of double-sided tape near the fabric edge.
Remove the paper backing.
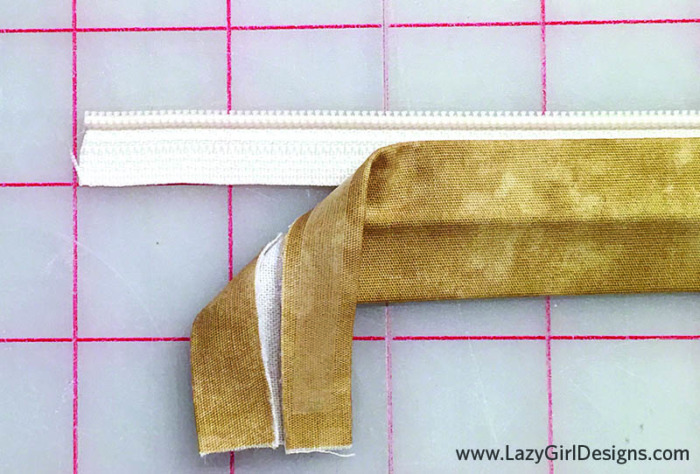
Then position the fabric on the zipper then sew in place.
More Zipper Resources
Keep these tips in mind and give zippers another try. Start with the Runaround Bag and watch the video demo.
Or join me in the Harper Holdall class and we’ll walk through the whole project step-by-step together.
And if you need zippers, here are the zippers I use and a link to where I buy them. They have a little section for items I’ve hand-picked just for Lazy Girls.
That’s Pinterest-ing!
Follow me on Pinterest and pin this post to your Pinterest boards.

Subscribe to receive emails for my blog and newsletters about new patterns and project ideas.
Enjoy!
Joan
Sew With Joan Online Classes | Joan’s Sewing Group | Pinterest
Here’s the next lemon bar recipe I plan to try.
Like and share this post with your stitchy friends.


And I thought you where going to give the lemon bar recipe you made?
Hi Nancy, Here’s the recipe I tried https://www.loveandoliveoil.com/2020/04/meyer-lemon-bars.html It’s delicious!
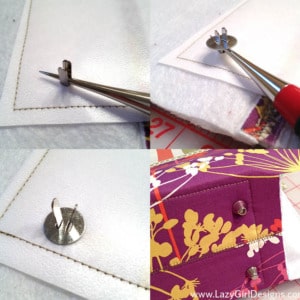
Is there a pattern for the heart bowls you had all the buttons in?
I found this very interesting and had not thought of doing this before. Thank you.