Tutorial: ‘Wrap & Fold’ Technique For Perfect Handles Every Time
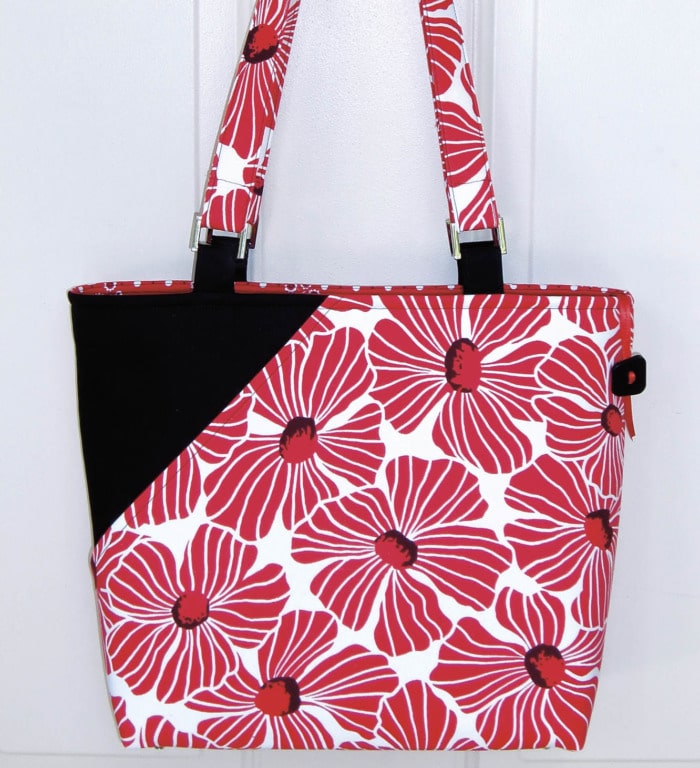
Lazy Girl Designs ‘Candice’, shown with perfect handles
made the Wrap and Fold way. (LGD130)
Lazies, Making perfect handles for your next bag creation is easier to achieve than you might think with our Wrap and Fold technique. Conventional construction methodologies might suggest making a fabric tube, turn it right sides out and stuff with supportive batting or filling. All I have to say to that is: Ewwww. And we can do better.
While making and turning tubes is do-able, it’s fraught with issues. My chief complaint is achieving consistency, and that’s an issue from start to finish. I just don’t think it’s a good way to go when better results can be achieved with a different approach.
My line of bag and accessory patterns are loaded with my new and alternative techniques such as ‘Wrap and Fold’ that are easy to achieve with great results.
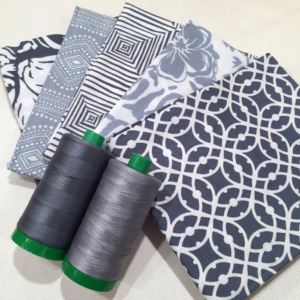
To make great looking handles the ‘Wrap and Fold’ way start with a good selection of fleece/interfacing. I like to use a combination of low-loft fusible batting/fleece and a medium/heavy fusible interfacing.
Easy to achieve fabric handles for your next bag project.
Note: This post contains Amazon affiliate links. I make a commission when you order items through that link.
Wrap and Fold Technique
Wrap and Fold is easy, accurate and works for any size handle. The concept is to wrap fabric around stacked batting/interfacing much like wrapping a hotdog in a crescent roll to make a pig in a blanket. In our case, the hotdog is a flat piece of batting and the tasty crescent roll is the fabric.
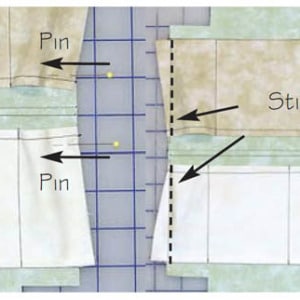
Let’s take a look at the technique, then I’ll explain all the details and important points below. The fabric ends can be left open for handles sewn into the seam of a bag. Fold the ends in for finished handles to use with ‘D’ rings.
Materials: Cut 2 of each
Fabric 3.5″ x 28″
Fleece 1″ x 27″
Interfacing 7/8″ x 27″
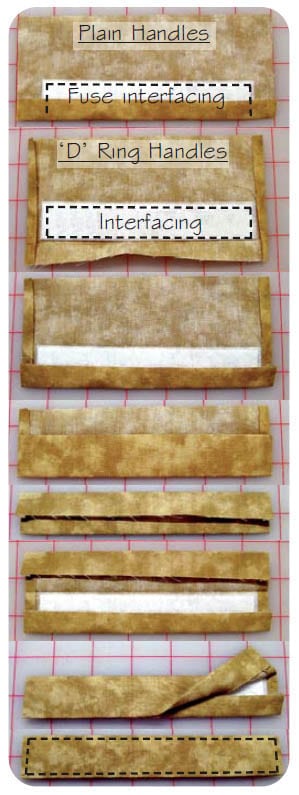
Make Handles
Plain Handles: Leave short ends unfolded as shown in first picture.
Handles with ‘D’ Rings: Fold 1/4” of short ends to wrong side and press as shown in second picture.
- Fold 1/2” of fabric on long edge to wrong side, press.
- Place fleece into fold, fuse.
- Center and fuse interfacing on top of fleece.
- Keep fabric/fleece together, fold toward raw edge of fabric, press.
- Wrap remaining fabric to front of handle as shown, press.
- Lift final fold, tuck raw edge.
- Re-fold, matching folded edges, concealing raw fabric edges.
- Use walking foot and stitch through all layers around all edges.
- Plain Handles: Trim away ends without batting/interfacing. Trim handles to 27”.
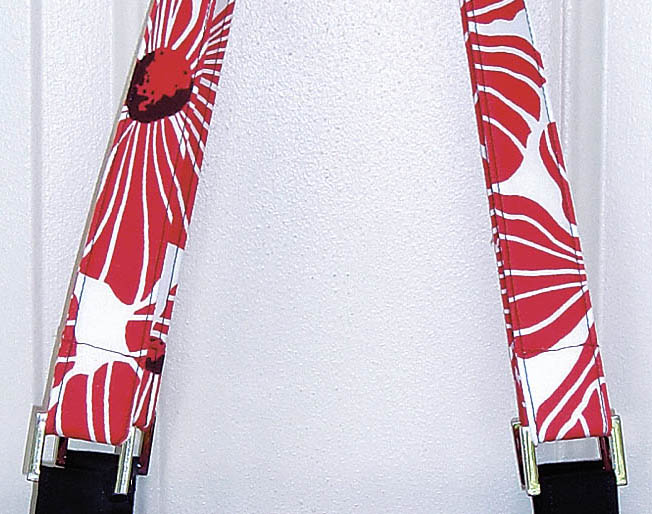
- ‘D’ Ring handles: Handles are ready to go

Nice, long, even, consistent handles. Shown with rectangular ring attachment.
Fleece or Batting
A confident piece of fusible fleece or batting will hold its shape when wrapped with fabric. By ‘confident’ I mean the difference between soft and drapey suitable for a baby quilt versus a more firm medium-loft fleece/batting with more structure ideal for giving bags great posture. The fleece should be more firm than the fabric. I like fleece with fusible on one side, rather than both sides.
Interfacing
My Lazy Girl Face-It Firm interfacing adds a nearly invisible layer of strength to the handles. It helps keep the handles from stretching and helps them to lay flat as opposed to rolling or possibly folding in on themselves.
The interfacing is also cut slightly narrower than the batting for strategic reasons. First of all, it can easily be centered over the slightly wider batting. This is important. If the long lengths of the batting and interfacing were the same size, they’d need to be aligned/stacked perfectly or it would result in overhang of one material and inconsistencies in the finished handle.
Most importantly, though, by cutting the interfacing narrower and centering it atop the batting, you’ve guaranteed that the firm cut edge of the medium/heavyweight interfacing won’t touch the soft and cushy fabric edges of the handle. This will keep the handles soft and prevent the interfacing from wearing through the fabric.
Subscribe to receive emails for my blog and newsletters about new patterns and project ideas.
Enjoy!
Joan
Joan’s Sewing Group | Pinterest
Like and share this post with your stitchy friends.
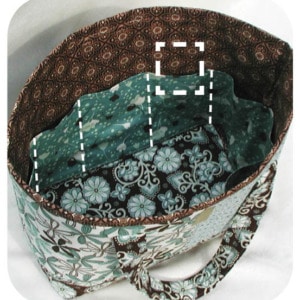


Made this purse to take with me on vacation. Will be making more. If I can make this it’s a GREAT pattern! It was nice having my iPad with me without everyone knowing that it was there. Thanks for a wonderful pattern with helpful pictures..
What a great tutorial! Thank you! I love it when someone covers a topic like this in depth.
What a great tutorial. Lots of detail and I can see how this would make the perfect strap. If you would like, I will pin this image to Pinterest to spread good word of you there. Let me know if you want me to do this.
Thanks for the tutorial. I have made Candice 4 times and still don’t have one for myself! It’s a great pattern and goes together easily. I guess I need to make it again for me!
I just made this bag yesterday and loved the way it went together. I have been sewing for many (many) years and have always used the turned tube style for straps. This way makes so much more sense and looks beautiful. I love my new bag.
I recently came throughout your blog and have been studying along. I assumed I would go away my first comment. I don’t know what to say besides that I’ve enjoyed reading. Nice weblog, I’ll keep visiting this blog very often.
Love making purses. Great idea.
Joan, thank you for these instructions, they are very helpful.
I am making a friend a Margo bag with 1950’s pink poodle fabric. Jean
What a revelation to find easier and more simple ways to make ‘bag type’ creations. It gives a positive feel and I KNOW THAT I CAN DO IT! I look forward to learning more!