How To: Pressing Your Bag Creations for Professional Results
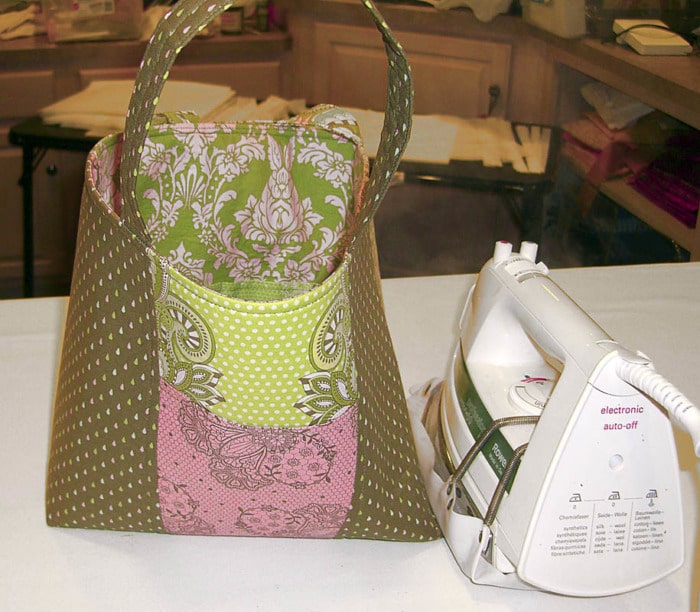
Lazies, Properly pressing your bag creations can make such a difference in how your final project looks. The bag below was pressing during construction, so it already looks pretty good. However, this before and after comparison shows the bag has more posture and a crisp look when given a final pressing after construction is done.
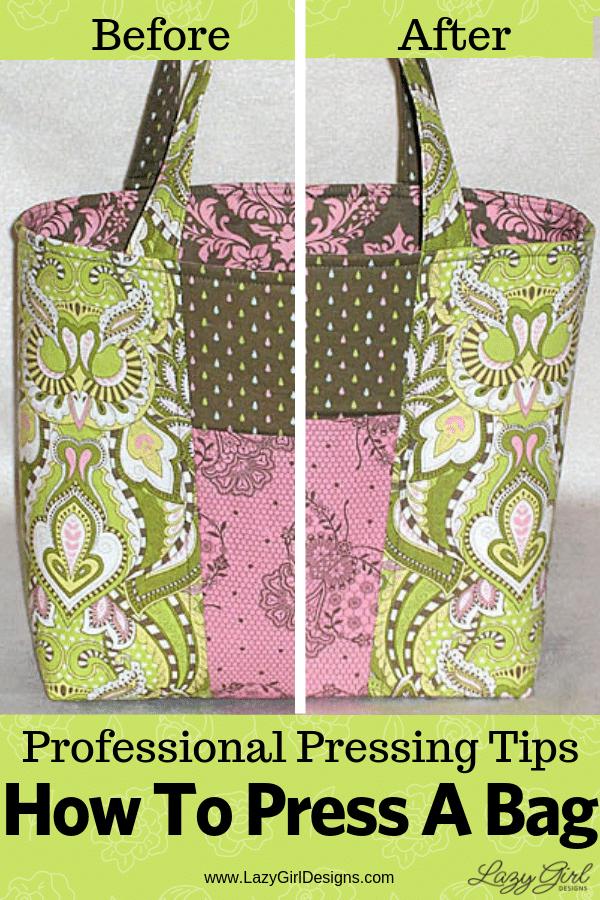
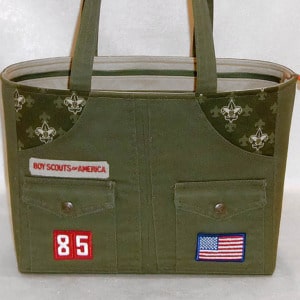
Compare the pics below. Not only does Claire stand up even nicer, but we’ve defined her shape and bottom edges with some simple pressing techniques for a more polished and professional finish. The Claire Handbag is one of our most popular bag patterns. Get the pattern below.
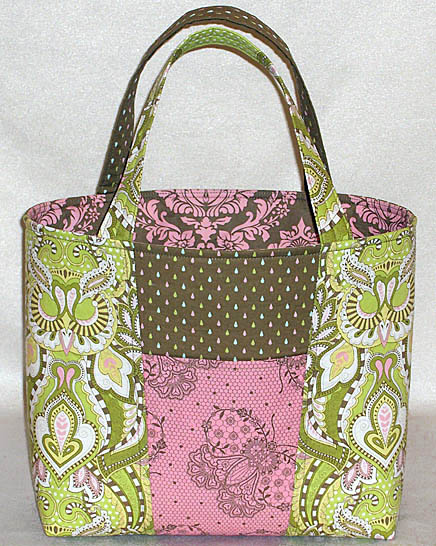
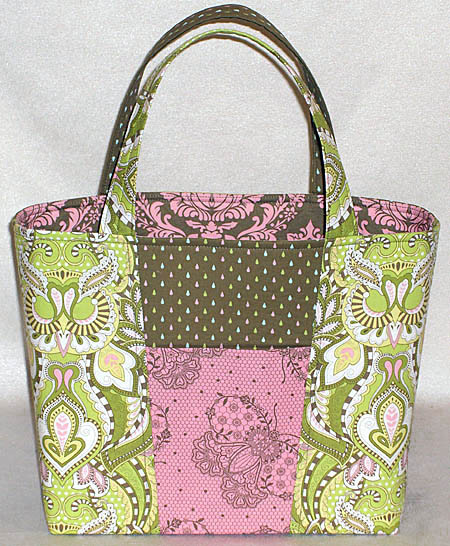
Claire Handbag before and after final pressing.
Shown in ‘Hushabye’ by Tula Pink for Moda.
Three Steps: Press, Specialty Press, Re-Press
Slide the open end of your finished bag project onto the rounded and pointed end of the ironing board and press what you can.
Work your way around the open end of the bag. Press along the top edge of the bag, gently pull on the handles and press where they attach at the top edge, and press as much of the body of the bag as possible.
Pressing the body of the bag is easy. But what about the bottom? You can’t fit your iron in there. Your ironing board doesn’t reach the nooks and crannies of your project.
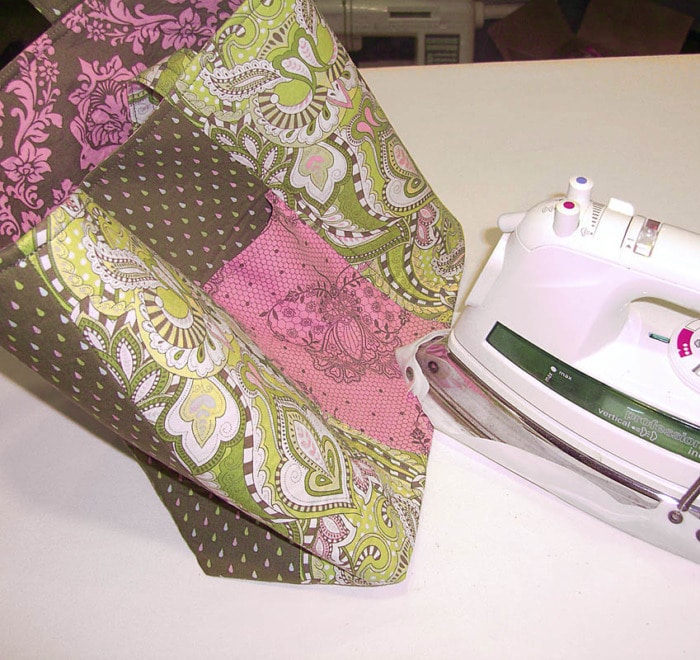
The Side Bottom Seams
If there are seams around the bottom edge of the bag – fabulous! Press those first. Reach into the bag with both hands and force the corners of the lining into the corner of the cover, pushing them into each other. Then gently pull your hands apart as you exit the bag and it will flatten at that seam and resemble the picture below.
While it is flattened, press just the seam. Start with the tip of your iron then slide more of your iron onto the project. I use lots and lots of steam for this. I want to build memory for this line along the bottom edge of the bag.
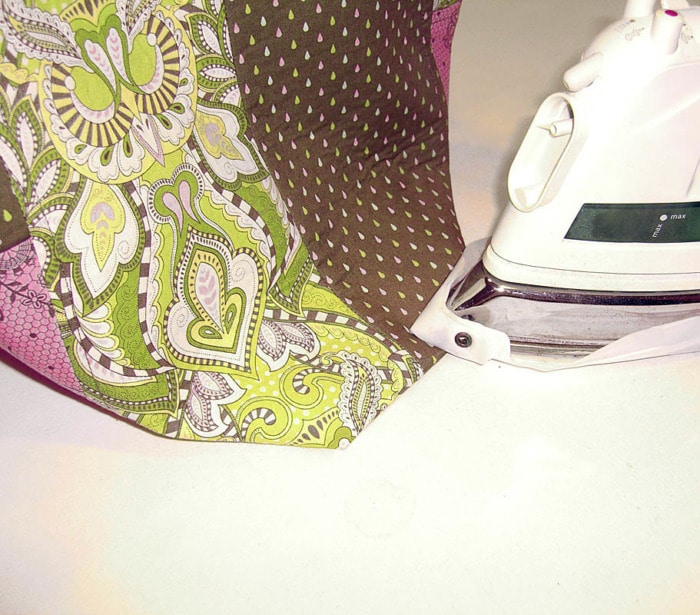
Here, I’ve placed half of my iron on the seam. By having this much of my iron on the project, I’m actually creating an unwanted crease on the front and back of the bag near the bottom. I try not to do that, but it happens and it’s okay, I’ll re-press later to eliminate that unwanted crease.
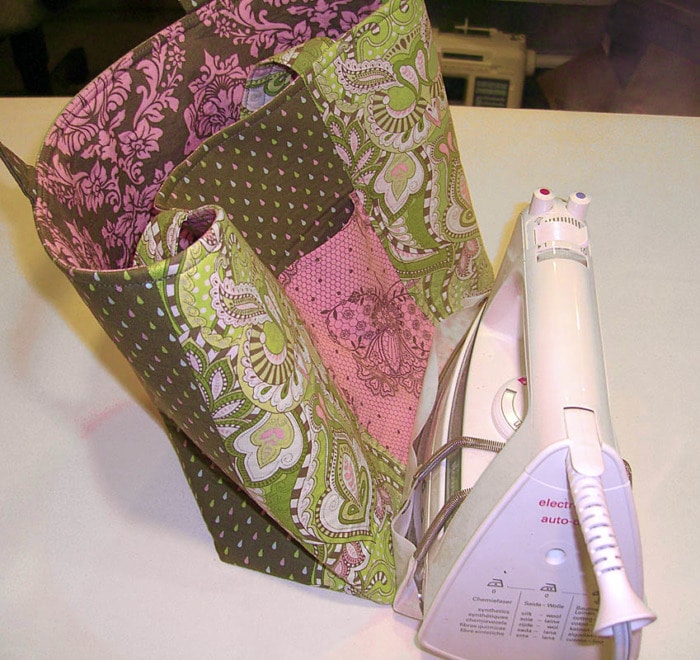
Pressing The Front/Back
There is one landmark on the front and back of Claire to guide us. We stitched across the outside pockets at 2 1/4″ in Step 2 of the pattern.
That stitching line should be the bottom of the cover. Many bags have no seam at the front or back to guide us, so we’ll use the perfectly pressed side seams as guides.
Reach into the bag again and tuck the front lining corners into the cover corners, spread your arms as you remove them from the bag creating a nice fold from corner to corner. You might have to help the bag make this fold. Just massage and manipulate the bag until you it looks right to you.
Final Check
Things can get kind of wonky here, but when the side seams and the front of the bag are resting nicely on the ironing board – you’ve got it. This means the bottom is squared up perfectly. Press this fold just as we did for the side seams. Start with the tip of your iron.
Then progress to your whole iron. Remember, I use lots of steam to set this fold with memory.
Finally, slide the bag back onto the rounded and angled end of your ironing board and press out any unwanted creases made while pressing the bottom edges. Steam will be handy once again.
Pressing Benefits for the Lining
This final pressing will also allow the lining to fill out the inside of the bag a bit more. The pockets will hang more nicely. And the Bag-E-Bottom will rest more comfortably at the bottom of your bag.
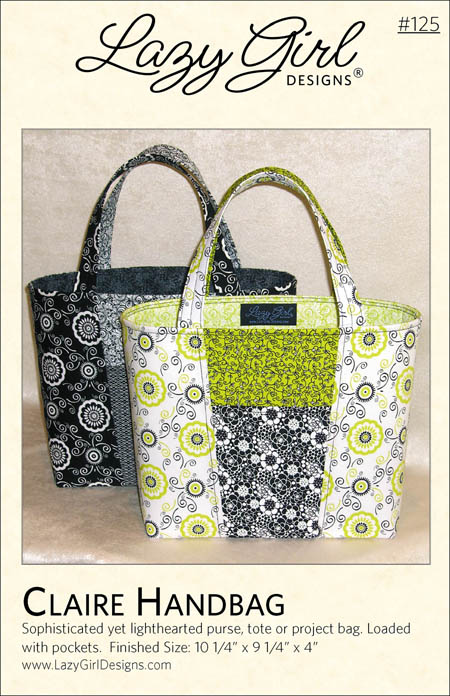
Claire Handbag Pattern
Claire is a quick and easy fat quarter project. She’s the perfect sized bag to use as a small tote or modest size open-top purse.
Get the pattern in our digital store here.
IKEA Hack Ironing Board
See my dream pressing station and make your own with this IKEA Hack Ironing Board.
This post contains Amazon affiliate links. I make a commission when you order items through that link.
Specialty Pressing Boards and Items
A sleeve board or specialty pressing board can be really useful for pressing small projects like this. Try the 2×4 Mighty Mini board I designed for Clover Needlecraft.![]()
I’ve been using Rowenta brand irons for years. They have plenty of styles and price points to choose from.
Sewing Room Tours, Sewing Organization, and Pressing Tips
For sewing room inspiration, follow my Ironing Board and Pressing Station Ideas, Sewing Room Tours, IKEA Sewing Room Ideas, and Sewing Organization Ideas boards at Pinterest.
That’s Pinterest-ing!
Join me on Pinterest here, remember to ‘Follow’ me there, and pin this post and pics to your Pinterest boards to save this idea.

New to our blog? Subscribe to get emails so you don’t miss a juicy morsel.
Like and share this post with your stitchy friends.
Join me in the Lazy Girl community on Facebook here: Facebook Lazy Girl
Enjoy!
Joan
Facebook Lazy Girl
Pinterest Joan Hawley
Pinterest Lazy Girl Community
Instagram @JoanHawley
Twitter LazyGirlJoan


Well, I think the ironing makes the project look so professional. Thank you for sharing all those great tips.
Joan, just want to comment on how much I like your newsletter/blog. Know I ‘light up’ when I see a ‘Lazy Girls’ email in my box. Often print them off so I can refer back to something in them. THANKS!
Hi, Joan,
I have a small Shark (older version, not the one with the handle that turns to fold) that fits into these bag bottoms very well, and I can steam or no steam. I can’t wait to do this bag, I already have 2 sets of fabrics ready! Thanks for making such easy directions!
Jo Ann (joquilter)
Excellent tips for pressing, it always gives the bag extra stiffness I think. Thanks for sharing.
Penny
I think a clean brick could be used in place of a pressing ham.
Lindap in IL
My iron must be brave……or maybe the bags have been bigger but it has been inside the bag………..lol..
What a great looking bag! Thanks for all your tips but one question. . . where can I get that silicone cover for my iron? I used to have one and in various moves have seemed to misplaced mine. I know that it helps keep the fabric looking good even with repeated pressing. I’m starting my Claire today!
Hi Martha, The cover on my iron is an ‘iron shoe’ that I’ve had for years. This one is made of a PVC material, I believe. Others are made from Teflon. Unfortunately, I don’t think the one I have is available any longer. Joan
Hi Joan, I just had to share my joy. I went to a fabric store 40 miles from my house on Friday because they were having a nice sale. I always check out all their patterns and, YES, they had the Claire Handbag! I got the last one. Now I can’t wait to make it.
Thanks also for the pressing techniques. A girl can use all the help she can get. Keep up your excellent work. Thank you, Jean
Love the Claire Bag I will find some fabrics & make one or more!!
I was taught that your iron is the next best friend to your sewing machine. I press all seams as I sew it makes a very proffessional looking project when done.
nice!
Wow, this makes such a difference. What a great way to finish a bag. Thanks tons for the tips, I’ll be linking.
Wonderful tips! I never thought to iron at the end. I also love the fabric! I can’t wait to pick up both pattern and fabrics!
I really enjoy your Lazy Girl patterns. Thanks so much. Sometimes I like to do a quick and easy project and I just love totes and hand bags. I quilt a lot and the totes are so nice to carry my projects in.
Thanks for these steps to ‘professional bag beautiful’! I love how you explain steaming to ‘build a memory for the line’ and ‘setting a memory’. You just gave my lazy a reason not to be:)
Hi Joan,
What a difference a little pressing makes! I finally got a tailor board, I love it for side seams of bags! At one of our local missions I found a vintage Dritz Point Presser & Pounding Block for $2 – I couldn’t let that sit! So now I have a padded and unpadded version for pressing. It makes for a more professional finished look. Thanks for all you do!
Scarlett
Love Claire and thanks for reminding us that pressing does make a difference!
Thank you very much. Doing this makes it look SO much nicer. Great info.
Thanks for sharing this info, I’m new on sewing so this is really helpful
Pingback: Tutorial: Pressing a bag for professional results · Sewing @ CraftGossip
Awesome info!! I posted a link to your tutorial on Craft Gossip Sewing:
http://sewing.craftgossip.com/tutorial-pressing-a-bag-for-professional-results/2009/07/19/
–Anne
Those are great tips. I often use a ham. But a sleeve board is a better idea. Thanks.
Thanks so much for the tips. I’ll be making some more bags soon, and I will try these tips. I
Hello!
I really like your how to. I was wondering if I could translate it in French and add it to my list of how to as explained in my french post (http://www.petitcitron.com/index.php/form_howto.html)
Of course, your website would be quoted and there would be a link!
Thank you,
Perrine
First time here. More pleasurable than the pressing tips was your clear explanation. I”ve decided that is a talent in itself.
I was wondering if you have a few tips on how to use that metal brush mat for pressing velvet?