Tutorial: Make a Tie Mask From a Man’s Silk Tie
Lazies, Here’s an easy tutorial for turning a silk tie into a comfy and beautiful eye mask, or more appropriately, a Tie Mask. I’ll show you how to make a mask that is perfectly contoured to your face with custom ear placement for a comfortable and natural fit. The silk feels so good against your skin, is smooth against your hair and feels soft tucked in over your ear. Let’s get started!
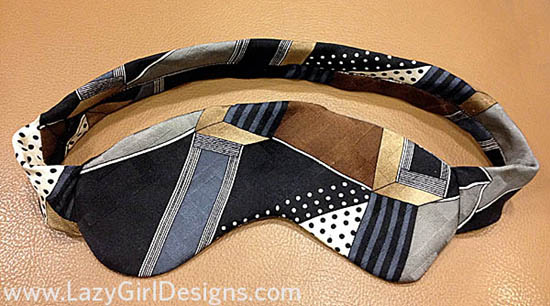
When my sweet hubster Superman (aka Michael) was scheduled for an MRI, the thought of being in that tube gave him a little claustrophobia. I decided to make him an eye mask so he wouldn’t be able to see anything and that was our starting point. So, shown above is the finished Tie Mask, made with one of Michael’s oh-so-fashionable-15-years-ago ties. Pics of hubby below.
Tie Mask Supplies
All you need is a tie, 12-16″ of 1/4″ elastic, some scrap fabric, a marker, piece of paper, pins, sewing machine, thread, and scissors.
Make a Pattern
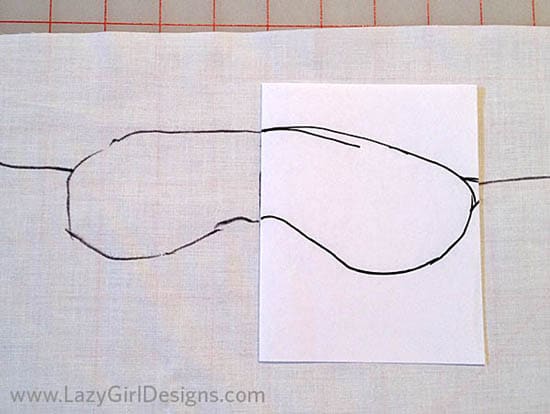
To start, cut a length of scrap fabric (muslin) long enough to wrap completely around the head at the eyes. Wrap the fabric around the face/head and carefully pin it in the back where it comes together. Use the marker and gently draw around the eye area from eyebrows to cheekbones. Start at the edge of the eye and draw a line around the rest of the head, at the ear level. Open fabric flat. This is your pattern.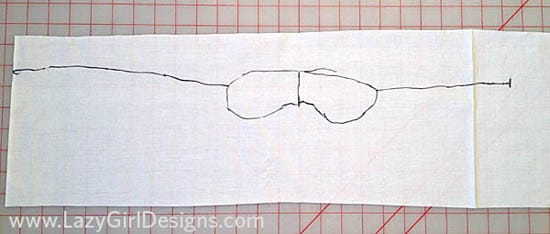
Make the Strap
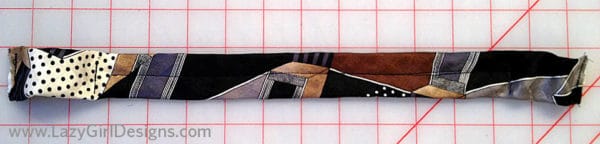
Measure the line you drew from the edges of the mask, around the head. Add 1″ to that measurement for the strap and take off 1″ for the elastic. Cut off the tip of the skinny end of the tie, then cut the length needed for your strap and use it as a tube. Insert the elastic through the strap and stitch the ends of the elastic to the ends of the strap.
Cut the Tie For Eye Mask
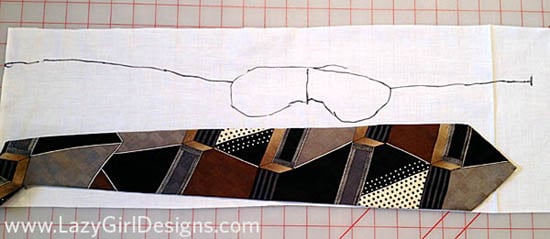
Lay out your tie to make sure the meaty part is big enough for the eye mask. This tie is certainly beefy enough for our needs. Lots of good fabric there!
Make Mask Pattern
If your eye mask shape looks good, cut it out and use as a pattern. If you drew the eyes unevenly like I did, fold a piece of paper in half and re-draw one half of the mask and mark where the strap will be located at the side. Cut the folded paper along the line, being sure to keep the mark for where the strap goes. Open flat and this is your pattern piece for the eye mask.
Prepare Tie Fabric
Take the tie apart, picking out the stitches and threads along the seam in the back. Be careful not to destroy the tie interfacing. Press the fabric. 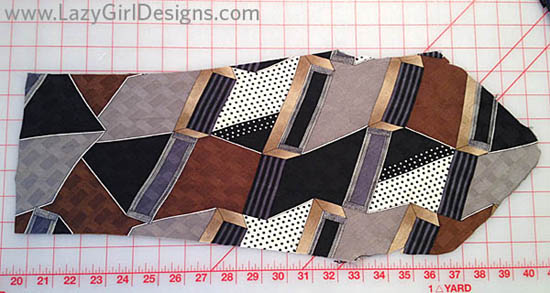
Fold the tie fabric in half, right sides together. Place the tie interfacing on top. You can use Sew Lazy Dreamy Fleece, low loft batting, or flannel in place of the tie interfacing.
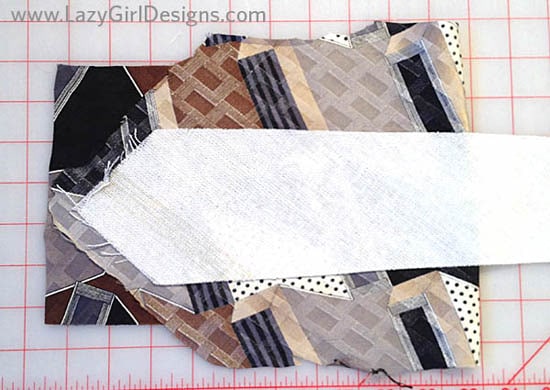
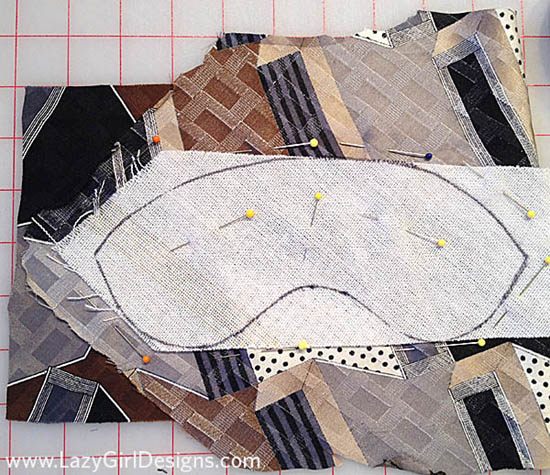
Position mask pattern and pin through all layers. Or use marker to trace around the mask pattern directly on the tie interfacing.
Insert Strap and Stitch
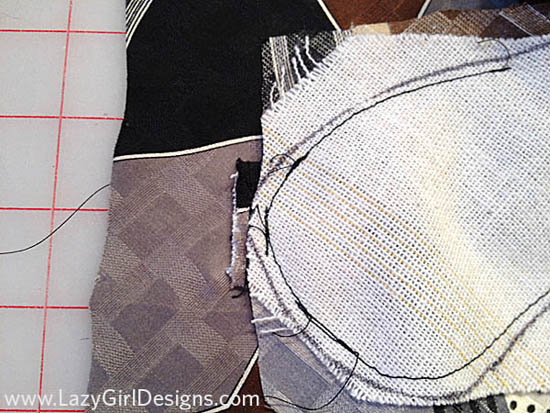
The strap goes between the layers of tie fabric. Carefully unpin near the edge of the mask and insert the strap so the end sticks out a little like shown below. To make this step more manageable for me, I decided to insert one end and stitch it in place, then do the same with the other end. Follow my stitching lines in the pic below to see what I did. Stitch just next to the mask shape.
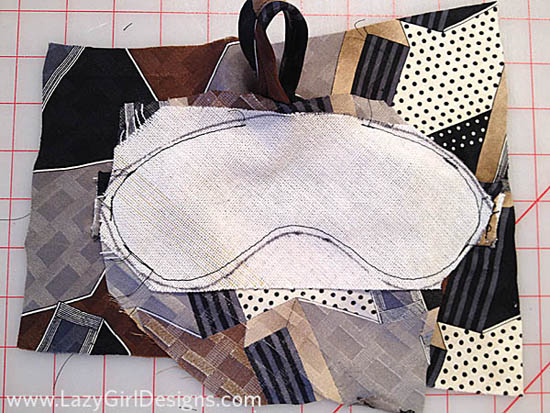
After stitching both ends of the strap in place, you’ll need to manage the bulk of the strap. I pulled the rest of the strap out the top, which looks like a loop in the picture below. Finish stitching around the mask, leaving an opening at the strap along the top. At this stage, it just looks like a big mess, but we’re almost done.
Finish for Perfection
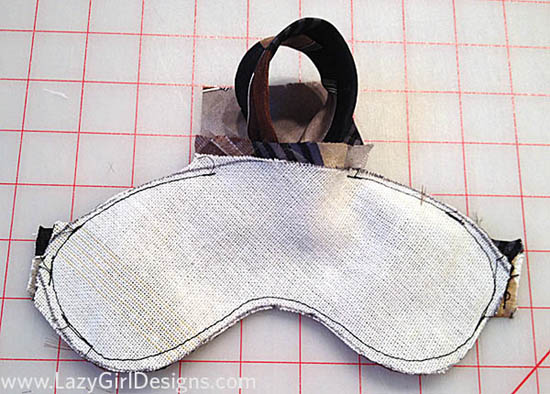
Cut away the excess, leaving a small seam allowance. Here you can see both strap ends sticking out the sides and the bulk of the strap sticking out the top. I did not trim close to the opening. I left plenty of fabric to make it easy to close that opening. Turn your mask right sides out, tuck in the fabric at the opening and stitch closed by hand. Your Tie Mask is done!
Finished Tie Mask
Here’s my handsome Superman modeling his Tie Mask. For him, it rests comfortably above his nose, then swoops down to his cheeks to block out everything. The elastic attached at the corner of the eye means there’s just enough tension to pull the mask down close to his eyes for perfect comfort. If the strap was attached higher, it would pull across his eyebrows. If it was lower, it would pull across his nose/cheeks. Instead, it’s perfectly contoured to his face and ear placement for a natural and comfortable fit. 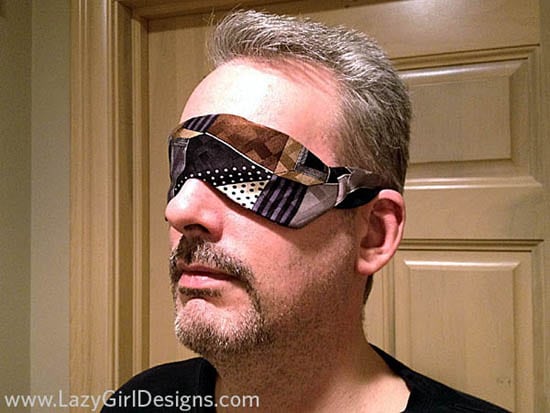
Here’s my rock-star, modeling his Tie Mask. What a cutie-pie. Thanks Hon! Michael wore his mask for that MRI and it worked like a charm. He didn’t see a thing and was more comfortable during the scan. Awesome!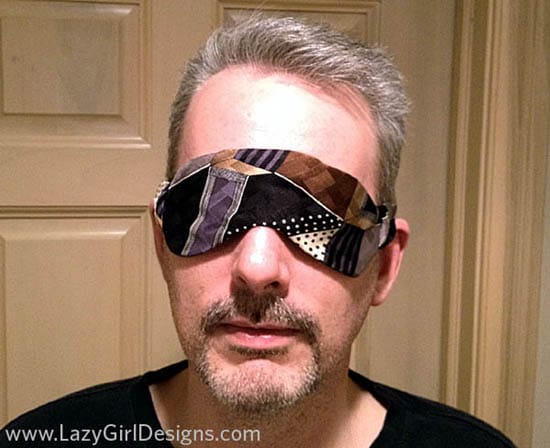
Tie Fabulous!
So, the Tie Mask is another great use for those outdated but fabulous and funky ties. Make a bunch to keep on hand for girlfriend gifts, sleeping away from home, or the dreaded MRI machine.

Enjoy!
Joan
If you’re new here, subscribe to our blog feed to keep up with the latest in Lazy.
Join the Lazy Fun at Facebook


Great idea, Joan! My husband is claustrophobic, too, and I never thought of this. You’re so darn Lazy clever!
What a smart idea! This is one I’m keeping, should anyone need it. Thanks.
This is great, for the Ladies also. I will be going thru ties to find a pretty one. Thanks for the idea.
Would this work for ‘flax bags`, that you put in the freezer for weary eyes or headaches? I have been using batik fabric for a nice feel;, but I like the elastic end part of this one.
Oh Joan! You’re so creative!
GREAT IDEA!! I know of a few people who could use this including myself. Sometimes my job requires me to travel and motel rooms are not always dark. My sister in law had to have an MRI and just couldn’t do it…too claustrophic. I will get some made up and donate to the hospital for anyone who might need…
Keep the great ideas coming!