The Slickest Way To Make Templates
Lazies, When you hear the word ‘template’ does it make you want to run screaming? I get it. I feel that way. Well, I have an option to share and I hope you like it because my four new patterns come with templates. We are going to talk more about those soon. Frankly, making my own templates is what bothers me. Maybe this sounds silly, but cutting a shape out of hard template plastic usually hurts me somehow. The cut edges can be all ouchie and whatnot.
Slicker To The Rescue
I love using my Slicker Iron-On Vinyl to ‘laminate’ my paper drawn (or printed/copied) templates. It’s a slick trick, you might say.
This will result in a template to trace around, not for use with a rotary cutter. Let’s get started!
Subscribe to the Lazy Talk blog in the pink box to the right.
Shop owners, Slicker SLG102 is part of my Lazy Girl interfacing line.
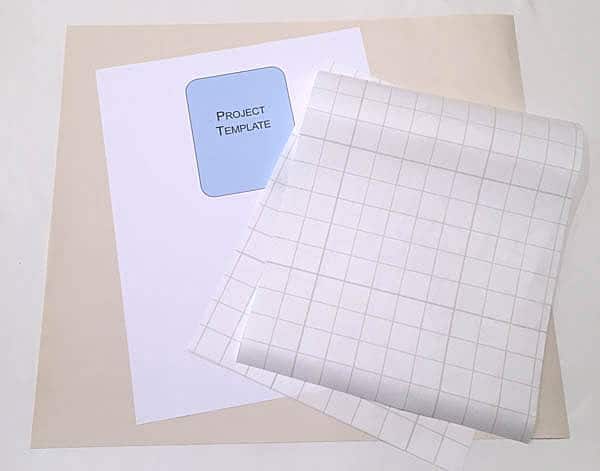
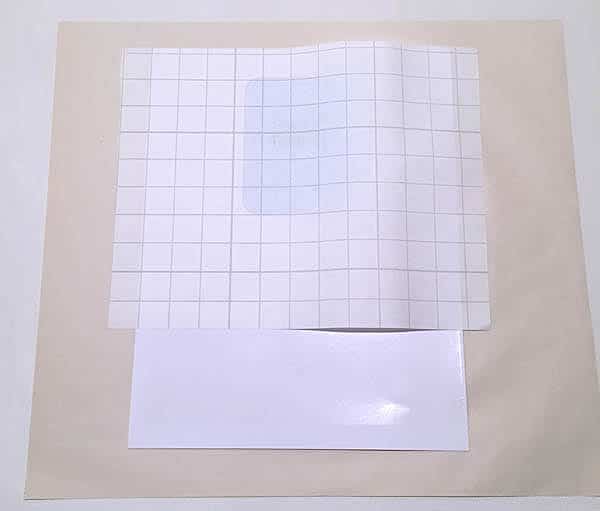
Here’s What You’ll Need
– Paper to protect your pressing surface.
– Create your template on paper (draw/trace/print/copy). I used printer paper.
– Two pieces of Slicker, large enough to cover your template design.
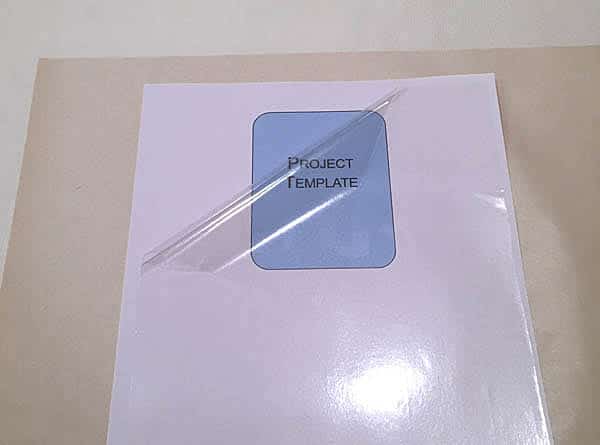
How To
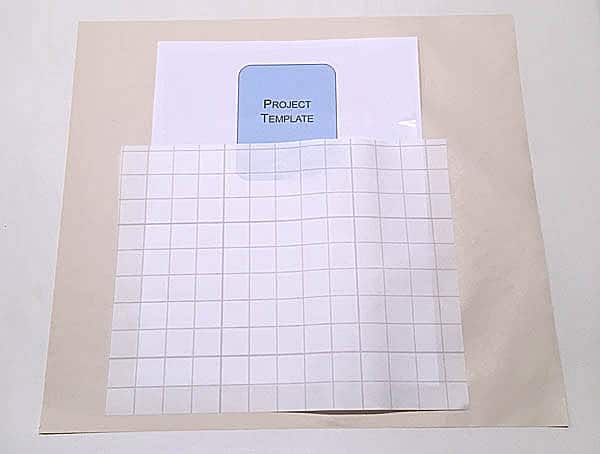
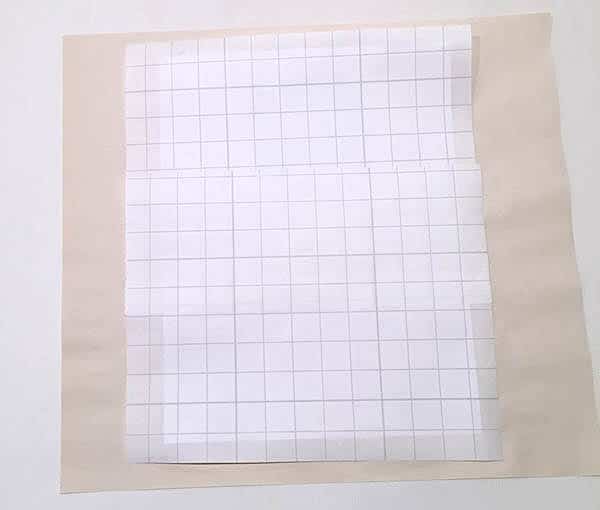
– Peel the protective paper backing off of Slicker. Keep the paper.
– Apply Slicker with the sticky side against your design.
– Smooth into place with your hands.
Built-In Press Cloth
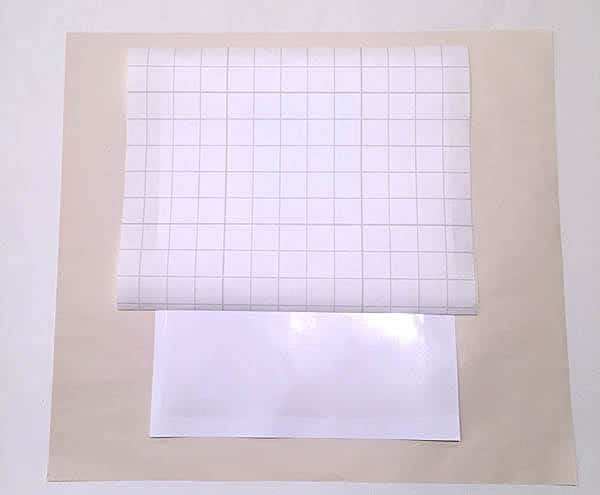
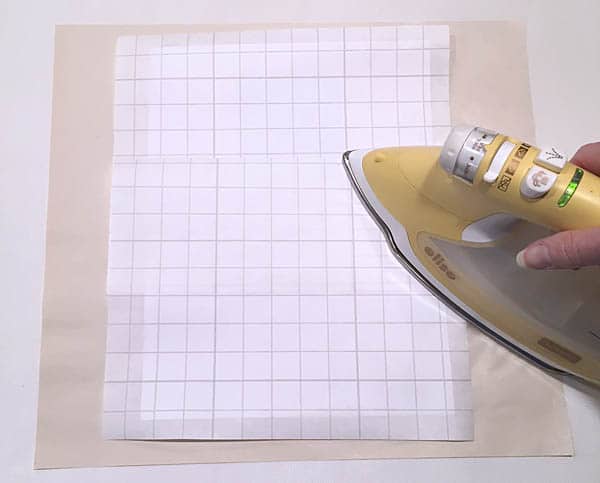
– The protective paper backing has a shiny side and a printed grid side.
– The paper backing is your pressing ‘cloth’ so to speak.
– Never touch a hot iron directly to the Slicker.

– Place the shiny side against the Slicker.
– Because the paper is the same size as the cut Slicker, in this example I turn mine sideways to totally cover one end of the Slicker.
– Then I press in two steps.
NOTE: Never let the hot iron touch the vinyl directly.
– Follow the directions for iron temperature (low, no steam) and time (quick!).
– Place iron on the paper backing and fuse.
– It doesn’t take much time.
– Move the paper backing and fuse the rest.
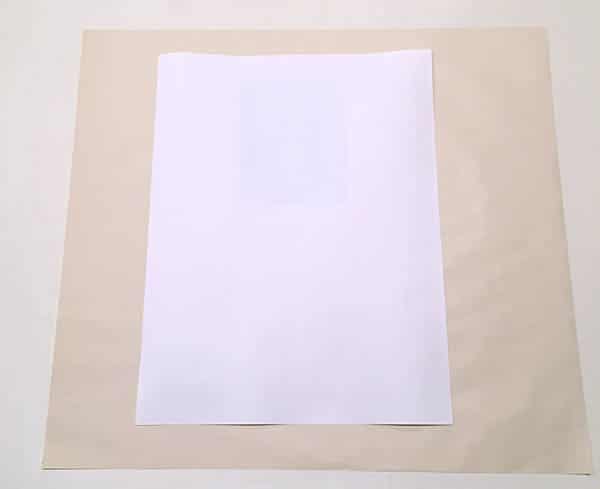
– One side is done!
– Turn the template paper over.
– Let template and pressing surface cool for a moment.
– Peel paper backing off of the second piece of Slicker.
– Apply Slicker to the back of the template paper.
– Now you have two pieces of paper backing.
– Use them together to cover the entire back.
– It’s okay if they overlap.
– Fuse the whole thing at once.
– Allow to cool, then trim around the edge of your template.
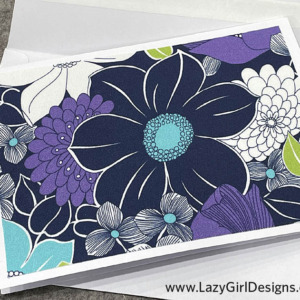
There you go!
You’ve easily and quickly laminated both sides.

Now you have a template that is sturdy enough to hold the nib of a pen for tracing (not for use with a rotary cutter). If you are printing a template at home or a copy shop, use a heavier weight paper for a more substantial result.
Other Uses
Laminate signs for your door, printed photos, children’s art, garage sale or other event signs.
Carefree!
For a template, keep in mind that the result in fusing Slicker to paper doesn’t have to be award winning and smooth. There could be a bubble or a wrinkle in there. It’s okay. That won’t affect its funciton.
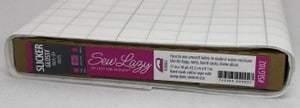
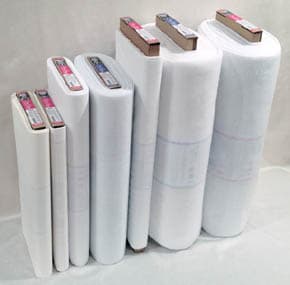
Slicker Iron-On Glossy Vinyl
Slicker Iron On Gloss Vinyl (item SLG102) comes in 17″ width on the bolt. Keep a yard or two on hand for this kind of need. It’s okay for this purpose if your Slicker gets a fold or crinkle. That’s not something you want when laminating fabric for a project. But for this purpose, you can be less cautious in handling/storing Slicker.
Tips!
– Since Slicker is 17″ wide, cut that width in half for two pieces at 8 1/2″ to work with letter sized sheets of paper.
– I try to keep the piece of Slicker smaller than the piece of paper with the template so I don’t have to worry about accidentally fusing it to my pressing surface. That’s also why it’s a good idea to put some paper down first.
Press and Re-Press
Slicker can also be re-pressed. Keep the paper backing on hand for that purpose. Here’s when I use this tip. If I need to add a note to my laminated template. I simply write on a scrap of paper, place that on my template, cover with another piece of Slicker and fuse again. That’s a handy thing to do for important things like ‘no directional fabric’ or ‘make more than one, you know you love this project’. You know, helping-hand ideas or footnotes to a future you.
Where To Buy
Lots of shops stock Slicker from my Lazy Girl interfacing line. Here’s what the bolt end looks like. It’s item SLG102 and it comes in a glossy finish. Pick up a yard or two. Keep it rolled for storage. If you use a piece, keep the paper backing tucked inside the roll for storage in case you need it again.

New Patterns
Yes, four new Lazy Girls are joining us very soon. I’ll be introducing them at Quilt Market in Houston next week. And let me tell you, these are crafty, fuse-y, and stitchy. Perfect for gifting and quick projects to satisfy your itchy stitchin’.
It’s a whole new construction idea and all four use the same recipe. For me personally, I’m hooked. I think I’ll go make a few right now! Details soon!
Please like and share this post with your stitchy friends. Join the Lazy Girl community on Facebook here: Facebook Lazy Girl
Enjoy!
Joan
Instagram @JoanHawley
Facebook Lazy Girl
Pinterest Joan Hawley


Thank you Joan for the tip and 4 new goodies..yea cannot wait to see what you have come up with for all of us who have fallen in Love with your Lazy Girl Designs…..
Oh my goodness, does this sound like fun! Will have to go to the store and buy some. Now I can’t wait to see the patterns. You big tease. ???
Joan – this blog post of yours couldn’t have come at a better time. I have a pattern for re-usable grocery bags that I’ve been wanting to make several of. The handles are shaped, however, and are cut with a curved template. I’ve been putting it off because I haaaaate templates. This Slicker template technique is just what I’ve been looking for. Is this product already in stores or is it yet to come? Thanks, Claudia W
Claudia it is already available. Check your local quilt shop or online.
What a great idea, especially now with all hexie style patterns available. I am very unhappy with my current method and/or the cost of recreating the wisps paper pieces for EPP! (English Paper Piecing)
Love the idea of this box, would be so handy for notions at the sewing table, or holding your glasses when you take them off for the day.
Layers of freezer paper (3). Ironed together , Works really well too
I’ve enjoyed your zipper classes on Craftsy. You are one clever, if lazy, girl! Will let you know when I get a chance to actually make the zipper bags. Any ideas about making zippered pencil bags? Seems I could apply some of the same techniques. I thought of this when I saw how destroyed my granddaughter’s commercial one is by this time of the school year.
I would like to know where I can purchase some of your products. Thank you, Betty