Sometimes the Best Fix is a Band-Aid
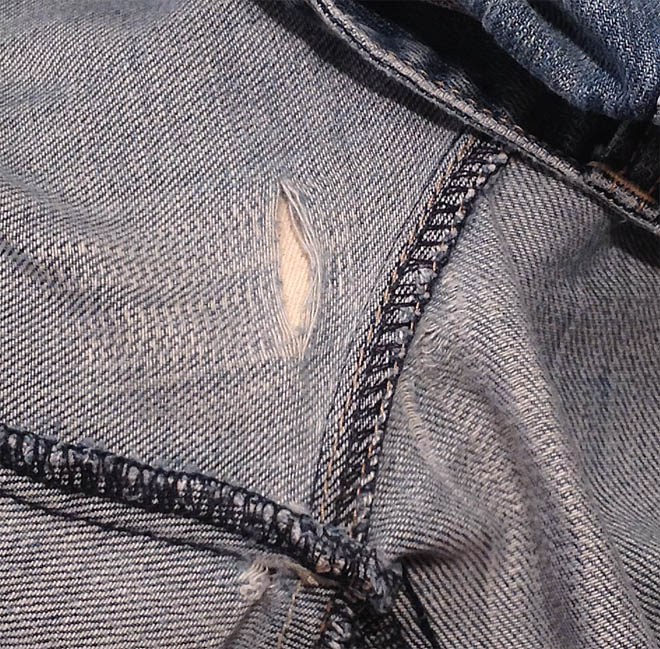
Lazies, What do you do when you find this in your favorite jeans? Ask your Lazy Girl sister for help. Here’s how I handled my sister’s dilemma. Jules, AKA Julie, loves everything about these jeans, so I wanted to do my best to help prolong their life for her. The worn spot with the hole is right where she sits.
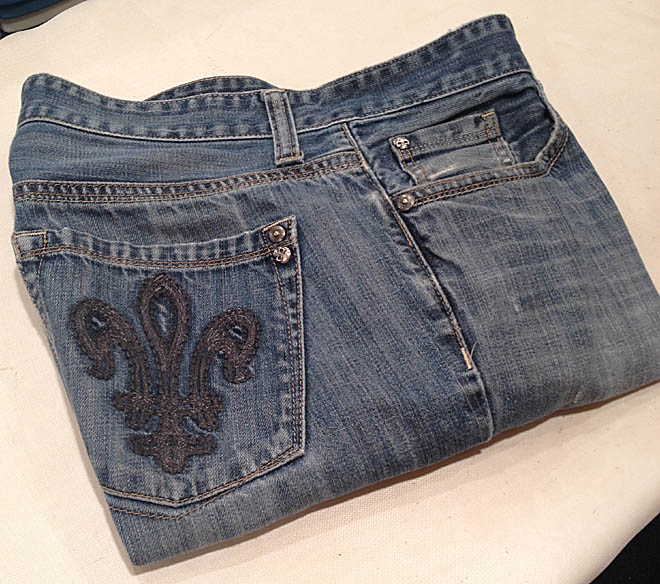
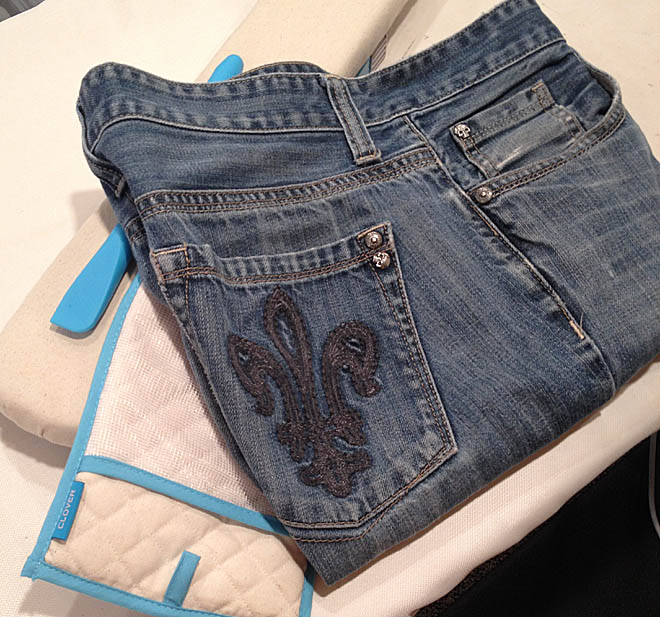
Jules loves the back pocket detail, and I think it’s pretty cool, too.
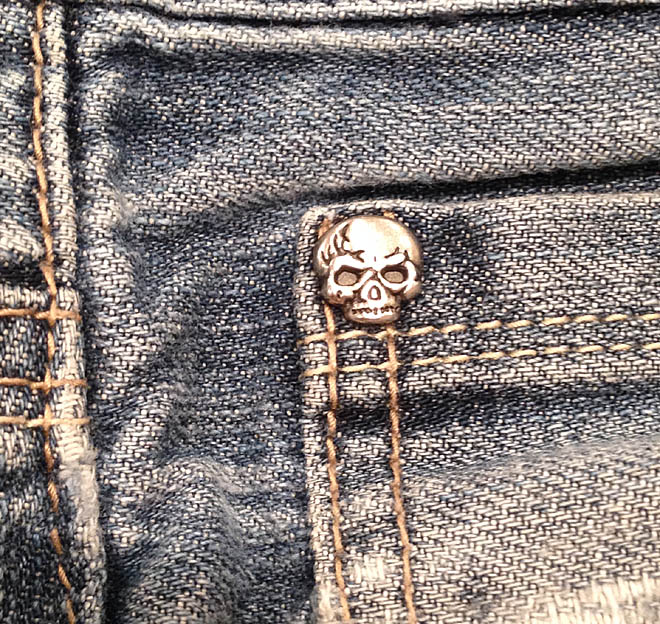
While I was working on the jeans I noticed that some of the rivets were extra special.
The Fix
I decided that due to its delicate location, the best I could bring to the table is to simply reinforce the area from the inside. I thought a traditional patch with stitching might be uncomfortable and possibly challenge the area when worn, likely leading to a quicker demise than they were already experiencing. So, a ‘band-aid’ it is.
I gathered my supplies and got to work. Some of my Clover Press Perfect products came in handy for this project. The tools are quite new and you might be wondering how and when you might use them, so let me show you how I used them and I posted a link to a video demo for each one.
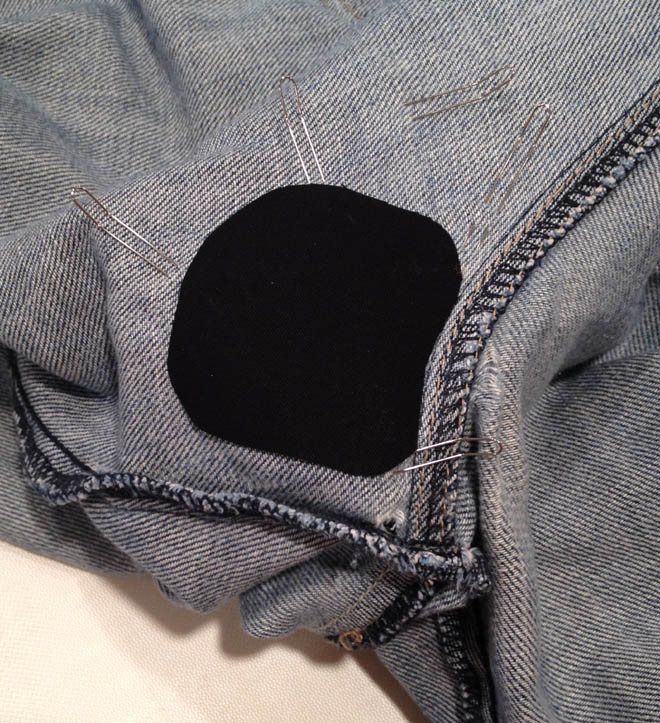
Isolate and Stabilize The Blemish
I arranged the jeans on my 2×4 Mighty Mini Board (video link). The board is handy for isolating a work area such as this. The board gives me a raised work surface. This project area is three dimensional. Trying to get it to lie flat on a traditional ironing board would have been cumbersome. The little height of the Mighty Mini raises the project area and allows the jeans to lie flat where I’m working – perfect!
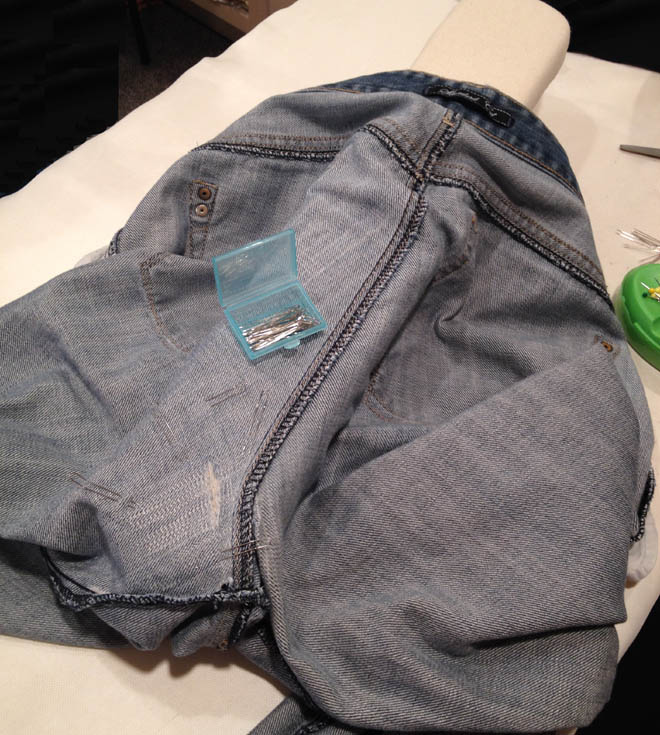
Secure With Pins So It Won’t Move
Next up, I decided to pin the area to the board to help hold things in place while I worked. I used Clover Fork Pins instead of straight pins for two reasons. They are easier to insert on a flat area and they have two pin point ends which keeps things from shifting.

Let me tell you that these little gems are handy. To insert a straight pin, you physically pivot your hand below the project to insert and pivot a pin into place. When working on a flat surface, such as the middle of your ironing board, there is no where to pivot down like you can along an edge. Fork pins are already angled for you! Nirvana. And two pin ends, well it’s like putting two pins right next to each other at the same time – very secure.
The Band-Aid
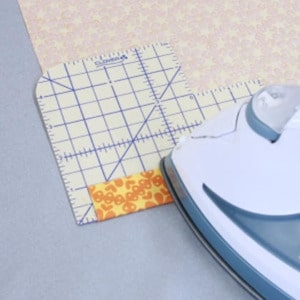
Next, I used some black Kona cotton fabric and my Fusi-Bond Lite fusible web and cut a patch for the area and fused it in place. I have my Iron Safe (video link) on my iron, so I don’t need a press cloth when working with this fusible.
More Band-Aids, Stat!
Things across the great divide looked a little challenged, too. So I did a patch to stabilize that area, too.
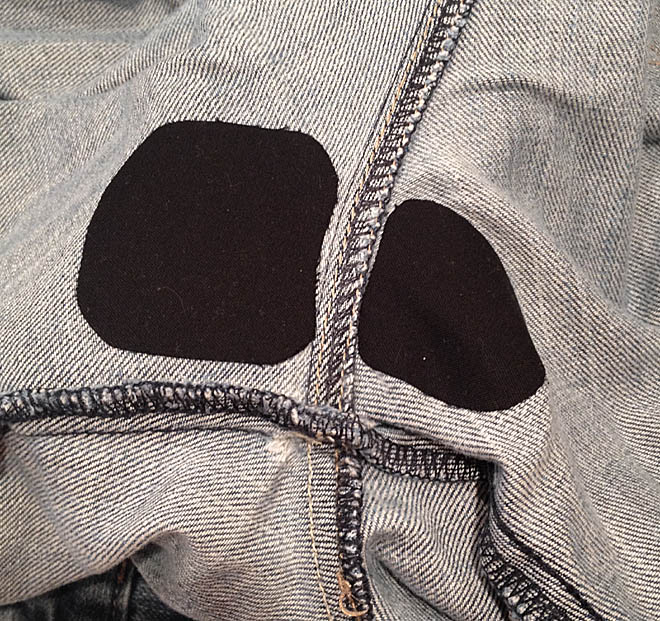
Once the patch is securely in place, use your sewing machine to stitch back and forth over the entire area to secure the layers. Use a thread color that blends with the denim.
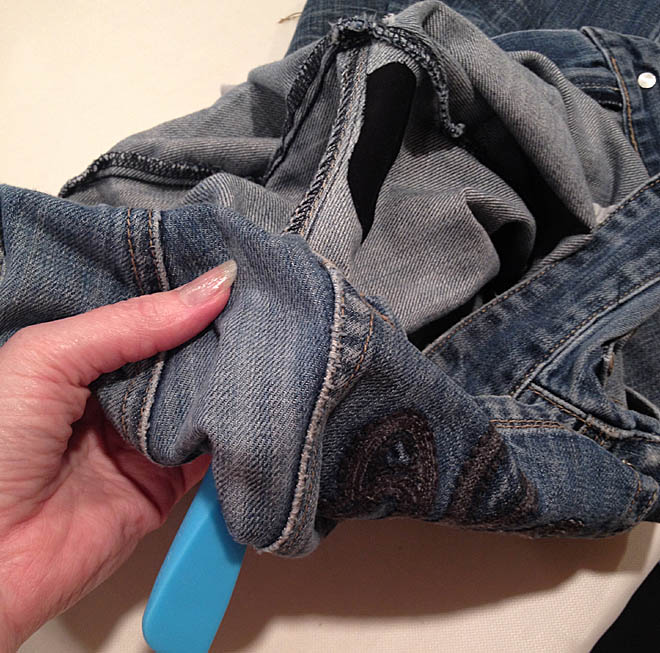
Details
Now, just to be sure the patch fused right next to the seam, I used my Iron Finger (video link) as a seam roll and pressed the patch along the edge with my iron. I also used my Touch Up Pressing Mitt (video link) to help with final pressing.
Done and Done!
So, Jules’ jeans are hole-y no more. I washed and dried the jeans and the patches held up. So, the jeans are back in the hands of my sis and she will let me know how my band-aid approach works out.
Subscribe to receive emails for my blog and newsletters about new patterns and project ideas.
Enjoy!
Joan
Joan’s Sewing Group | Pinterest | Instagram | Twitter
Like and share this post with your stitchy friends.


Great idea! Nothing like a well loved pair of jeans. I am often asked to mend clothing, and would rather buy new!!! So, any help is appreciated. Thanks!.
Looks good. Maybe if she doesn’t sit so often she can extend the life of the jeans even more?!
My refurbished favorite pair of jeans are awesome ~ thank you so much my miracle worker sissy Joan Hawley!
Great idea, I just happen to have a pair of jeans, that are really old and also have a hole. I just love them, even though I have other jeans, I’m going to use your method, Thanks for sharing!!
Looks like it will hold and she can get several more wears out of them. Good luck to her and her jeans, you are a good sister.
Joan I had a pair of jeans that I machine embroideried a band-aid over a hole and all the kids would comment on it, don’t remember what happened to them. Thanks for the jog to the memory!