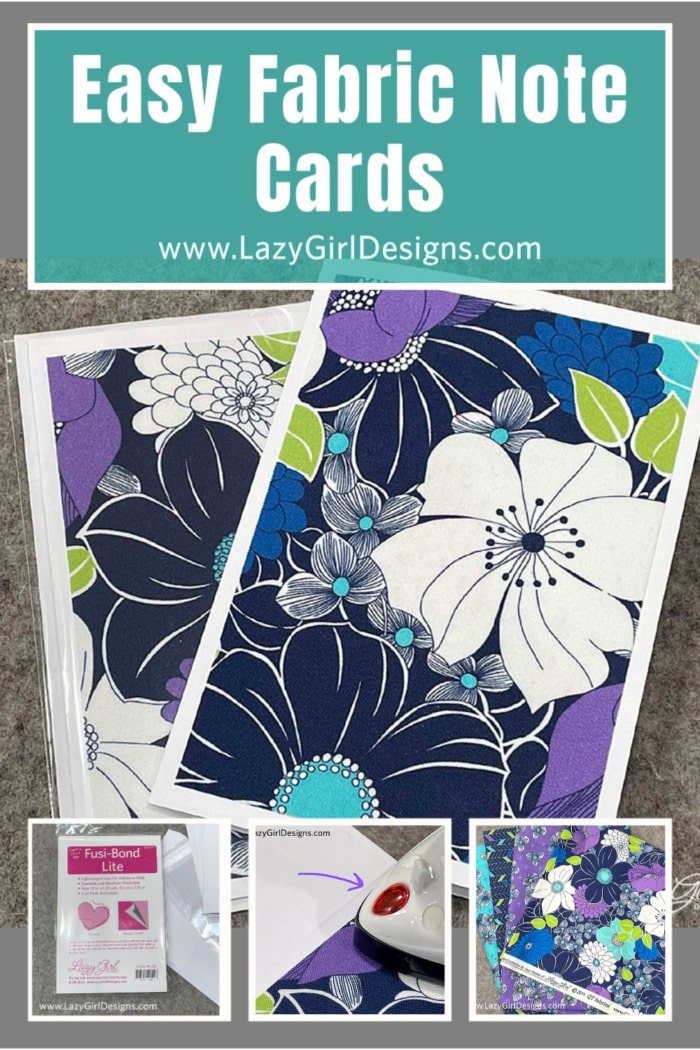
Make Your Own Gorgeous Fabric Cards in 3 Easy Steps
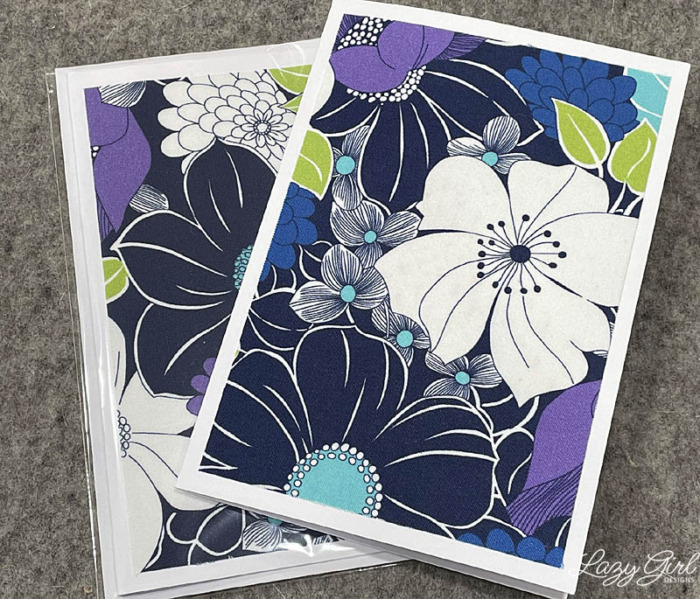
Quick and easy fabric note cards from fabric scraps for all occasions.
Lazies, Never get caught without the perfect card again! Follow my 3 easy steps below to turn your precious fabric scraps into one-of-a-kind cards (and gifts) that are perfect for every occasion. Everyone wins on this one. And these beautiful cards are quick, easy to make, and affordable. Perfect for everyone and any occasion. Check out the tutorial, then grab your FREE printable tutorial (valued at $9.95) below!
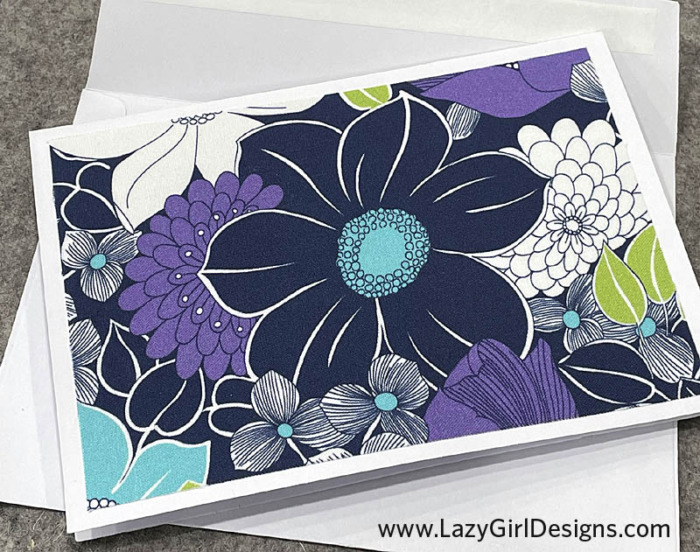
Fabric note cards get your beloved project scraps
off the shelves to make useful eye candy.
If you’ve ever fused fabric to something, then you already know everything needed to make these stunning note cards. And you probably have most of the supplies on hand. See that, you are nearly done.
Note: This post contains affiliate links. I may earn a commission if you order through those links at no additional cost to you.
Supplies for Making Fabric Note Cards
- 100% Cotton quilter’s weight fabric scraps a little bigger than your note cards
- Fusi-Bond Lite lightweight fusible adhesive web from Lazy Girl Designs
- 5in x 7in blank White Cards and Envelopes
- Cellophane bags for gifting
- Scissors, iron, and basic supplies for a fusible project
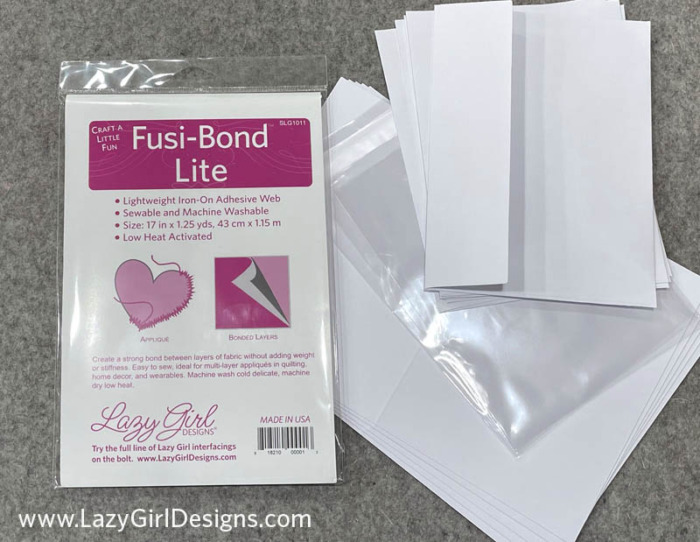
Card Making Supplies: Fusi-Bond Lite,
blank cards, envelopes, clear bags.
Blank white note cards are easy to work with. This product came with the cards flat with a fold line ‘scored’ in the middle for easy folding. The envelopes are self-sealing – just peel the paper strip and fold the flap into place to seal. Sweet!
Clear cellophane bags with self-sealing flaps are a really nice touch to package individual cards as gifts or to sell.
Tip: This technique should also work well on heavier construction paper or blank index cards (to make postcards, gift tags, and bookmarks).
Fabric Selection for Note Cards
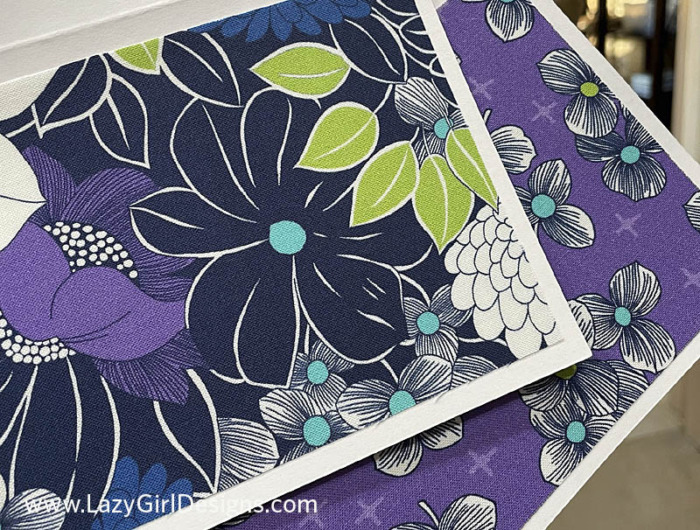
Gather your fabric fabrics and sizable scraps! I worked with yardage I had on hand from the Lexi fabric collection I curated for QT Fabrics. A couple of cards from each of these would make a nice gift set.

Gorgeous leftovers from my curated ‘Lexi’
fabric collection for QT Fabrics.
Although I worked with yardage, you could use leftover quilt blocks, fabric scraps, or an applique design to compose the front of the card.
Tip: Choose themed fabrics such as Christmas, Valentine’s Day, Halloween, or birthdays for specific occasions.
Step 1: Prepare Fabric for the Note Cards
Work with your fabric and fusible bigger than needed, so when it is cut to size, the fusible will go all the way to the edge of the fabric for a great finish.
The cards shown here are 5″ x 7″. Cut the Fusi-Bond Lite slightly larger than needed and fabric slightly larger than that. That will keep the fusible in from the edges while fusing and prevent it from getting on the pressing surface.
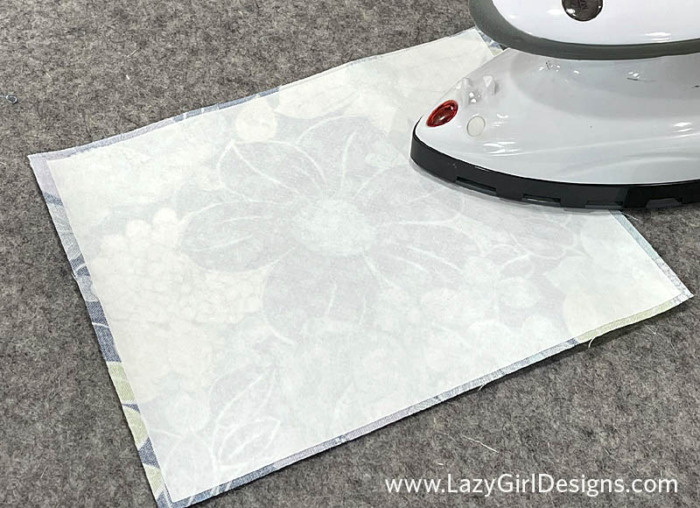
Follow manufacturer’s directions to fuse
adhesive web to wrong side of fabric.
If you plan to make a bunch, work with larger pieces of fabric and fusible, then cut strips and re-cut the strips to the size needed.
Step 2: Cut To The Size Needed
Choose the size border you want around your fabric piece. You might choose a bigger frame around the fabric or you might be starting with smaller cuts of fabric.
Be sure to trim a little from all edges when cutting to the size needed. That will ensure that the fusible goes all the way to the edges.
I decided on a quarter-inch border around the fabric. To do so, cut the fabric 1/2in smaller in both directions. For a 5in x 7in card, cut the fabric to 4.5in x 6.5in. When centered on the front of the card, that creates the quarter-inch border around the fabric.
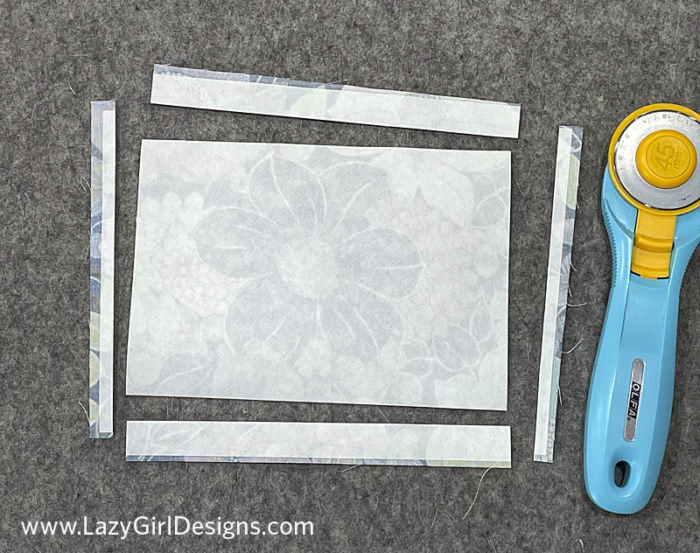
Trim from all edges for the best result.
Tip: When possible, cut your fabric pieces on the grain to help reduce any fraying at the edges.
Allow the fusible to cool, then start at a corner and peel the protective paper backing. If the adhesive web sticks to the paper, press again to fuse and allow to cool.

Allow fusible to cool, then peel paper backing.
These cards came flat, but they are ready to fold. Take a look at both sides of your blank note cards. The side with the indented ‘fold’ line is the inside of the card.
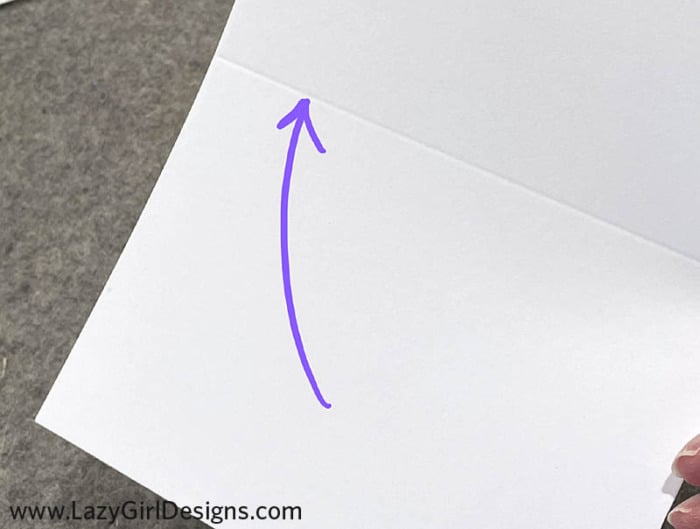
The side of the card with the indentation,
or score line for folding, is the inside of the card.
If you want to get fancy, print labels with some notes about the fabric for the back of the finished card. I printed directly onto the card. I set up the info I wanted in a file and did a few practice prints to get it where I wanted. My 5in x 7in cards are 7in x 10in before folding.
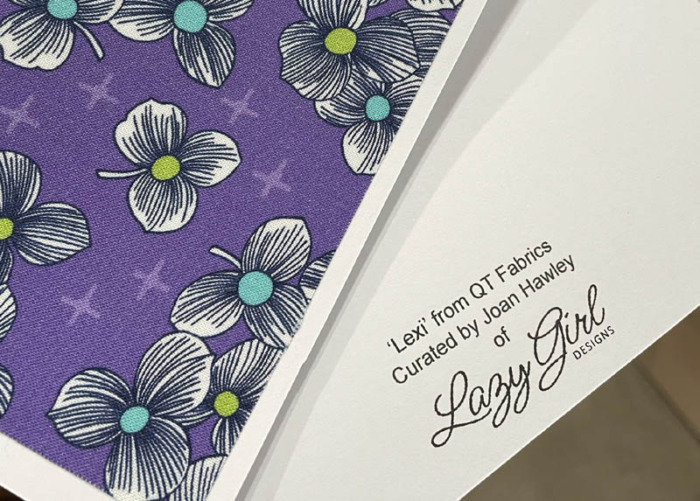
Use your printer or make labels to add info to the back.
Be sure your printer can handle card stock.
Step 3: Fuse and Fold
Fusi-Bond Lite adheres to paper beautifully! Center the fabric with the fusible against the card, then follow the manufacturer’s direction to fuse the fabric to the card.
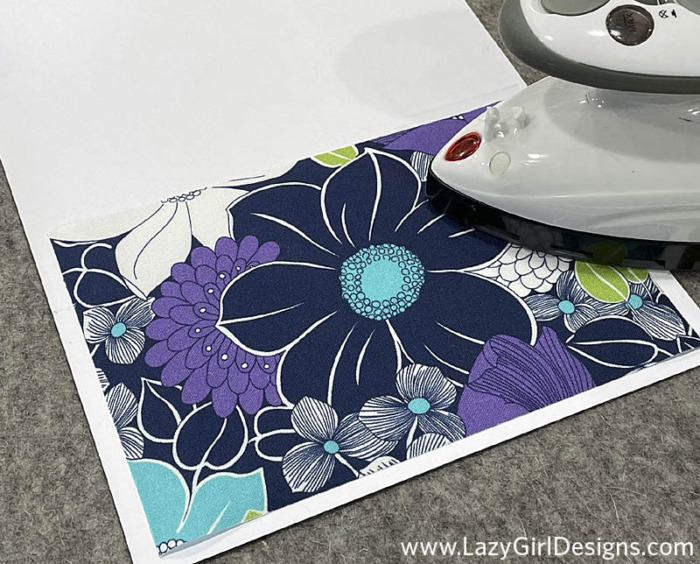
Center the fabric and fuse,
following the manufacturer’s directions.
Tip: Always do a test to make sure you are happy with the result before preparing tons of fabric pieces.
Gently fold the card in half at the scored line across the card.
Make a variety of coordinating cards to give as a gift set.
I made fabric cards to use for holiday cards. And I made a few for gift sets, too.
To Mail: These 5in x 7in cards with fabric, adhesive web, and envelope weigh less than one ounce. I send these out in the regular mail using one first-class stamp for postage.
Extra: How to Gift Wrap Note Cards
To give fabric note cards as gifts, place one card and envelope in a self-sealing cellophane bag. These bags are the perfect finishing touch and protect your beautiful creation. The bags noted in the supply list above are the perfect size for these 5in x 7in note cards and their envelopes.

For Gifts: Place a card and envelope
in a cellophane bag and seal.
Keep a collection of you-made gorgeous note cards on hand so you always have the perfect card. Get those amazing leftovers from a favorite project off the shelves, out of the drawers, and onto note cards where they can be shared and loved.
Make a bunch to use and sets to gift.
Other Fabric Card Options
These note cards are wonderful to use in place of greeting cards. For other card options, cut card stock or blank index cards into gift tag sizes and fuse a little fabric on one side, and the to/from info on the other. Remember to leave room for a hole punch, then add a ribbon or baker’s twine to make a loop.
For leftover jelly roll strips, consider cutting card stock for bookmarks and put those gorgeous strips to work. Don’t forget about those last few inches of leftover quilt binding – that begs to be made into a gift tag when giving a precious quilt.
Gifting a plate of your famous home-baked sweets? Make a gift tag that’s nearly as special as your treats.
Remember to grab your FREE printable tutorial (valued at $9.95) below!
That’s Pinterest-ing!
Follow me on Pinterest and pin this post to your Pinterest boards.
Subscribe to receive emails for my blog and newsletters about new patterns and project ideas.
Enjoy!
Joan
Sew With Joan Online Classes | Joan’s Sewing Group | Pinterest
Like and share this post with your stitchy friends.


Great idea and excellent instruction. As a lazy sewist, this project is perfect. Thanks for the tutorial.
Thank you so much for the tutorial on the fabric notecards. I needed a small gift for about 8 friends & knowing that all of them enjoy writing notes this was prefect! I made 6 cards for each & some for myself 48 in all! It certainly was a joy making them and thinking about which fabrics they would enjoy.
clicked the “click freebie” for the beautiful fabric cards you talked and showed in your recent email, but did not come up for me to print out. Is there an alternative way to get this pattern.
Thanks for the Fabric Note Pattern, can use it all year long.
You always come up with great
Patterns.
I love my Lazy Girl patterns. I buy some and sometimes I get a freebie from you.
Brilliant idea!
I do like sending a little note of thanks or get well or Hey How are YOU! This is perfect. I’m new here – your directions are spot on! This would be great for Christmas gift tags too!
Thanks