Create Texture With Bobbinwork
Lazies, I’m fascinated by bobbinwork. Filling the bobbin with big beautiful fibers instead of thread, then stitching from the wrong side. When you are done, turn your creation over and the fiber is your quilting thread on the right side of your project. Jo Leichte, Consumer Support Specialist for Bernina of America, is today’s guest and Jo shares her bobbin-work Miranda Day Bag with us.
Here’s Jo
Last April I made the Lazy Girl “Miranda” bag and a friend liked it so much that I made one for her birthday recently.
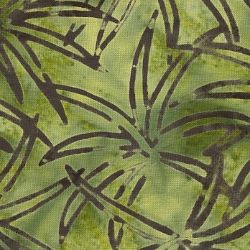
For the new bag I used some scrumptious Benartex Batiks that I bought at Bernina University in June – “Rainforest Triple-Dyed Balis”
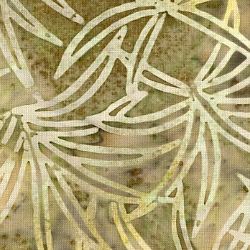
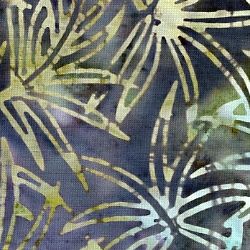
You can’t go wrong when you start with beautiful fabrics.
I made the bag following the included instructions – except: Instead of quilting the main fabrics I used free-motion bobbin work to hold the layers together.
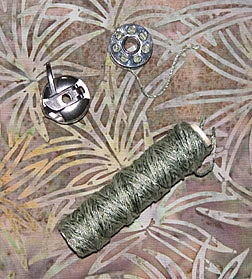
First I hand-wound several bobbins with YLI Multis in a tan/olive colorway, and threaded the needle with regular cotton thread.
Wind bobbins by hand.
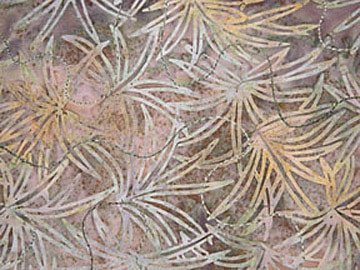
Rich and robust tread work from the bobbin.
I used the Black Latch Bobbincase with my Artista 630 – this is a special bobbin case on which I can easily loosen the tension without messing with my regular bobbin case.
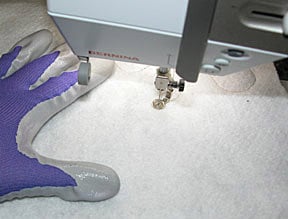
I got out my Machingers for the free-motion work – these are rubber-covered fabric gloves that create a great “grip” on the fabric while still letting your hands “breathe.”
Stitch with the batting on the top, fabric on the bottom.
I used Teardrop Embroidery Foot #26 for my stitching, but could also have used the Bernina Stitch Regulator.
Here’s what the fabric looked like when I was finished stitching. It’s subtle, but pretty.
Another change I made was to use purchased handles, which I attached with Lazy Girl’s Handy Tabs – little lengths of ribbon that are the perfect size for attaching handles. They’d also make great little labels.
Stitch ends in place.
Flip handles to cover stitching and stitch again.
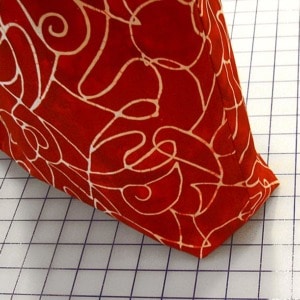
I also used Lazy Girl’s Bag-E-Bottom size D to stabilizer the bottom of the bag – it keeps everything nice and sturdy.
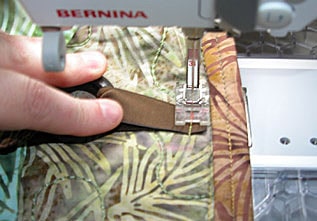
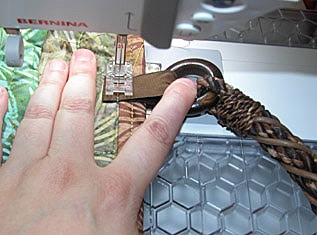
Here’s the basic process for attaching the handles. Slip the Handy Tab through the loop at the end of the handle, then stitch it in place – upside down – where you want the handle to be. There’s no need to finish the raw ends. Careful – keeping the handle out of the way can be a little tricky.
Turn the handle up, then topstitch the Handy Tab in place. Again, it can be a bit tricky keeping the handle out of the way – you might want to enlist the help of an assistant for these steps.
Just like on my previous Miranda bag, I couched some cord (more YLI Multis) around the flap/tab instead of topstitching it.
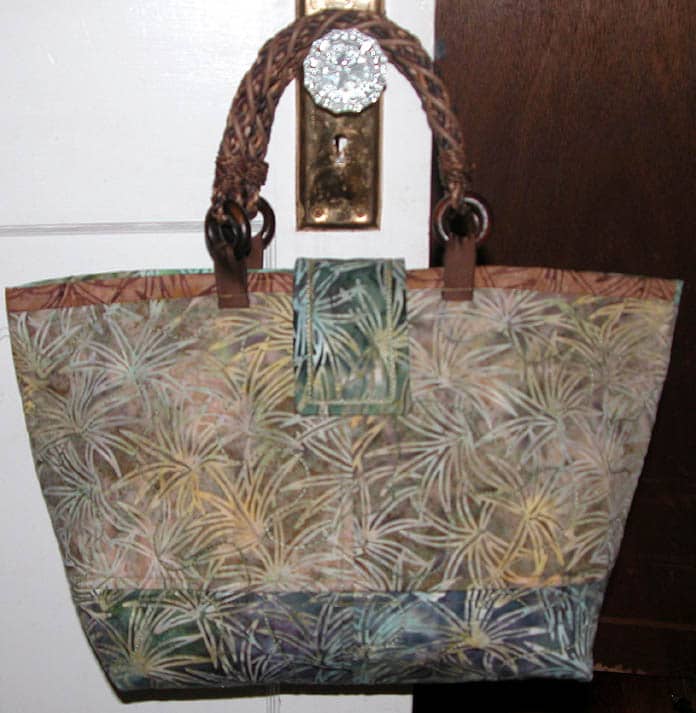
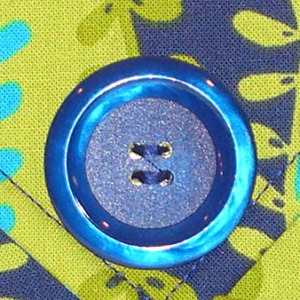
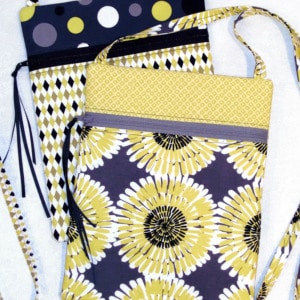
And here’s the finished bag! It should get to the birthday girl sometime this week – can’t wait to hear how she likes it!
Next: I just got some fabric to make the new Lazy Girl “Claire” pattern – but haven’t decided yet what sort of embellishments I’m going to use. When I figure it out, watch for another Lazy Girl project on our blog!
Thanks Jo! Read more about Jo Leichte here, and follow her at the Bernina Blog here. Here is Jo’s original post about this project.
Enjoy!
Joan

Love the bag. Have always been temped to try bobbin work mmmm. I love the Handy Tabs as well. Thanks so much for sharing with us!
Penny D in Chesapeake
I’m anxious to try bobbin work. I already have the supplies but haven’t taken the plunge. It looks amazing!
I’ve tried this using 6 strand embroidery floss. I practiced by making potholders and hot plate “cozies” – it’s a great way to try out the process and use up some old floss at the same time!
Hello Joan,
I have never heard of bobbin work before, is there more information on it? I have a Janome Memorycraft 3500, would I be able to it on that? I love the way it enhances the material, usually you can’t do that successfully can you.
Thank you, Elaine Howard
For Dima,
Please explain about the embroidery floss.
How many strands do you wind the bobbin with?
I am sure I will read this again. I have been fascinated with trying bobbin work. I am still gun shy. I bread thread for no reason. So I really dont want to make it worse. I think I will practice with regular thread. I am looking forward to using metallic. Opinion is that it is easier in the bobbin. But I dont want to adjust my bobbin or buy an extra. I plan on trying to bypass the tension. Wish me luck.
Hi, I am very very new to the whole handbag making affair but been enjoying what I have read and seen so far…What kind of sewing machines do u use? regular machines for dressing making or industrial machines? or special machines for handbags? Thanks very much.