The Secret To Perfect Button Placement and Attaching Stacked Buttons
Lazies, As you’ve probably already noticed by now, I like buttons. From fancy to plain, I like them all. And I like to decorate or embellish with buttons.
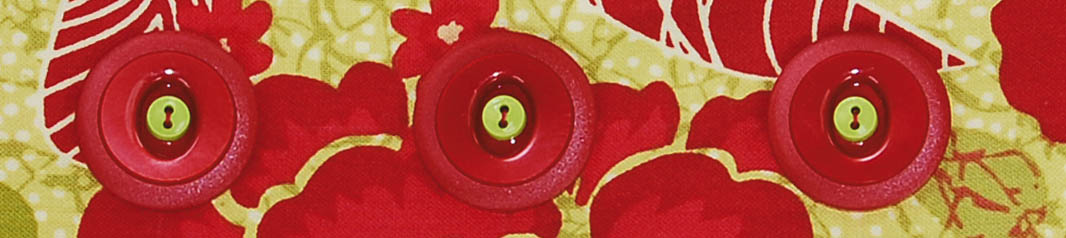
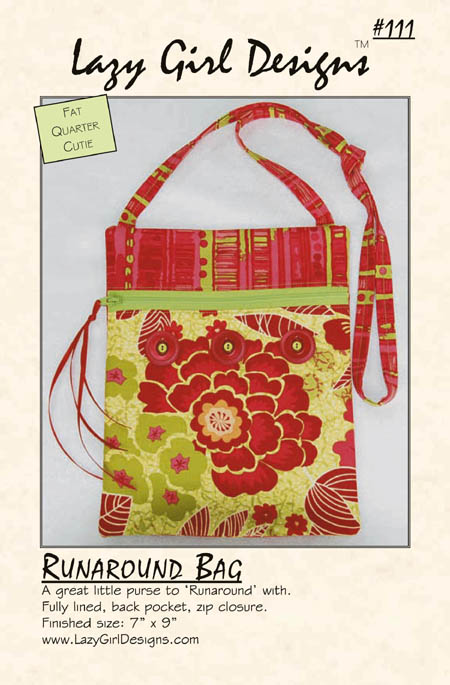 In this Runaround Bag, I stacked large and small buttons to achieve the color mix and balance that I was looking for on this bag.
Today, I’m going to walk you through how I attach buttons for perfect placement. Oh, and a tip on attaching stacked buttons, too.
Super Secret Tip For Perfect Button Placement
First, decide on your buttons or button combinations. Decide where you want them on the project and what color thread to use.
1. Marking For Placement
I’m showing this in black and white so you can better see the markings. All markings are for the center of the buttons, which is between the two stitching holes.
First I marked a line across the project where I know I want the buttons placed. Then I found the center of the project and aligned it with the 6″ mark on a ruler (any inch mark will do).
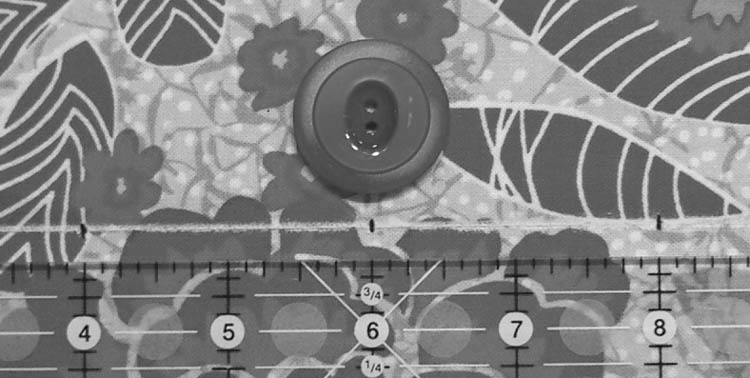
Make a mark at 4″, 6″, and 8″ for the center of each button.
Then decide how far apart you would like your buttons. To do so, place the buttons on your project and just scoot them around until you are satisfied with their location. Then check the ruler to make sure they are evenly spaced if applicable. My big red buttons were 2″ apart on center. Then make a mark on your project at the center of your button. See the black marks in the photo above made at 4″, 6″, and 8″ just above the ruler.
Back side of project showing stitch location.
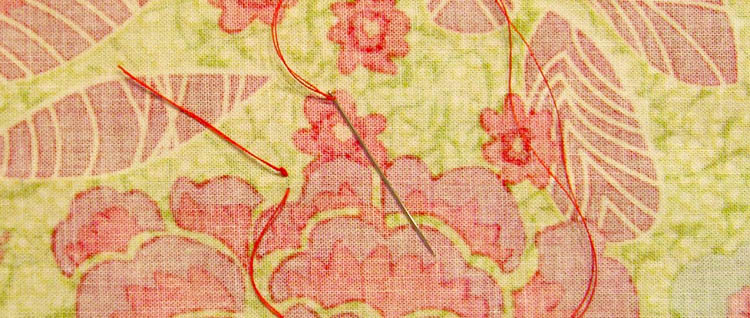
2. Stitch Your Guides
Stitch through the fabric with just the needle and thread for the first round of stitching. Start with the needle on the inside of the project, stitch through to the front, then to the back – skipping the button altogether at this point. Try to make your stitch match the spacing of the button holes, with your mark in the center of the holes. Remember, we marked for the center of the button, not for the stitching holes.
3. Attach That Beautiful Button
Once your needle is again on the inside of the project, you’ve just created the perfect guides for stitching your button in place. Use these entry and exit points for the first stitch to guide your needle when sewing the button in place. Go ahead and sew the button in place. Repeat for all buttons.
 4. Double Time
To do two buttons on top of each other like I show here, stitch the first in place, stitching a few times.
Then while you are still working on the first button, simply pull your needle to the front again, through the first button, then pull it through the second button and complete the stitch.
Do a few more stitchings before you tie and knot the thread. Attach both buttons in one stitching – Lazy!
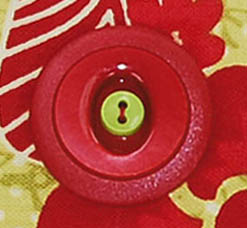
It helps if you use buttons with similar hole spacing. The green button was small enough to nest inside the indentation of the red button. The thread was an opportunity to carry the red color to the center of the stacked button embellishment and become part of the design.

Subscribe to receive emails for my blog and newsletters about new patterns and project ideas.
Enjoy!
Joan
Joan’s Sewing Group | Pinterest | Instagram | Twitter
Like and share this post with your stitchy friends.


Joan I did not realize they were 3 buttons, awesome idea! My head is spinning! I am keeping this tip handy in the tip drawer of the computer!
Thank you,
Penny
Hi Joan, this is great! I already copied the instructions and put in my handy tips file. My next purse is going to be buttons, buttons and buttons. Thanks for all the great tips and advice and patterns! Donna
Hi –
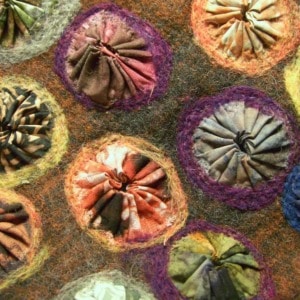
I just love your e-mails. Made a couple of the wonder wallets – gave one to a friend with a gift card in it. I attached a yo yo to the front and it looked just adorable. She loved it – she’s a great crafter, not a sewer and thinks it took a long time to make. I won’t tell her how easy it was !
Keep them coming.
Terry
Speaking of buttons…my husband learned to sew early in our relationship, but he hates hand-sewing. He flat-out won’t do it. He had a number of great button-down shirts that hung around for ages, buttonless. Then I showed him how to sew buttons on with the machine zigzag. Most of those shirts are now worn out.
He has yet to sew stacked buttons, but if the time comes, he’ll find buttons with evenly spaced holes so he can do it on the machine.
That’s one Lazy Boy!
I love this idea. THANKS for a great tip.
Aren’t you the clever one! Thanks for the tutorial!
Pingback: HOW TO - Place Buttons Perfectly | Craft Blog
Joan I love your blog. The three button idea is great. I hope you bought some of those stacking bobbins too. They are real cute.
Hi Joan,
I jsut re-read your tuitorial on button placement and I wonder if you have ever used the magnectic closures on anything you have made? If so, can you explain how they are attached? I recently purchased a package of them and there wern’t any instuctions with it…can you imagine that! Or if you know of another source that explains the mthod can yu direct me to it?
I appreciate any info you might have.
Looking forward to what you will offer this year…2008! Hope it is a great one for you in so many ways.
Thank you.
Brenda
Pingback: Lazy Girl | Blog » Runaround Bag Offers Function and Builds Skills
Does anyone know of a source for buttons that look like your stacked buttons but then almost encased in clear acrylic making them into a single piece? I have seen them on expensive ladies jackets but I have not found a source for them. Your stacked buttons are lovely and I will use that as my inspiration. I would still like to find a source as well. Anyone have any ideas? I so appreciate your blog and you have been my inspiration for taking up sewing again after a twenty year hiatus.