The Best Way to Attach Bag Handles
Lazies, Fashion handles are a great way to elevate your next bag creation. Many handles come with a hole at the handle ends, or some type of hardware that needs help connecting to your bag. Often times the hardware has an opening that works with a fabric loop extending from the top edge of the bag. This point of connection between the bag and the handle is an opportunity to add a bit of color or a print design at the top edge of the bag.
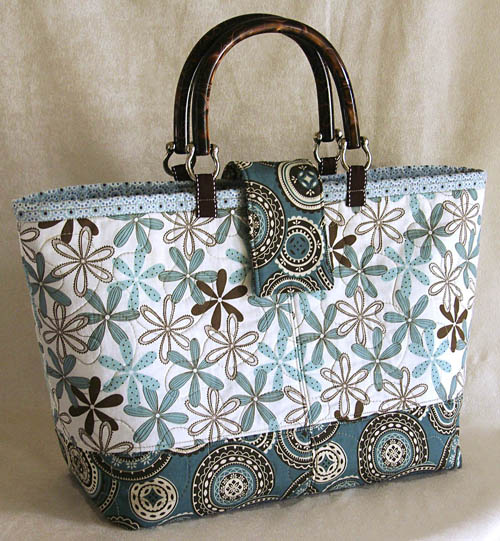
A quick and easy way to attach handles is to use ribbon. I prefer grosgrain ribbon because the weave is durable, the threads won’t pull easily, and it has a nice textured finish.
Choosing the Ribbon Color
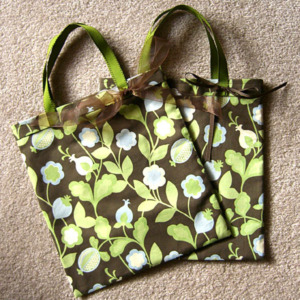
Pick a few colors that coordinate with your fabrics and audition them as shown below. Decide if you want the tabs to blend in or stand out. There may be a few good options, so stand back, squint, and choose. 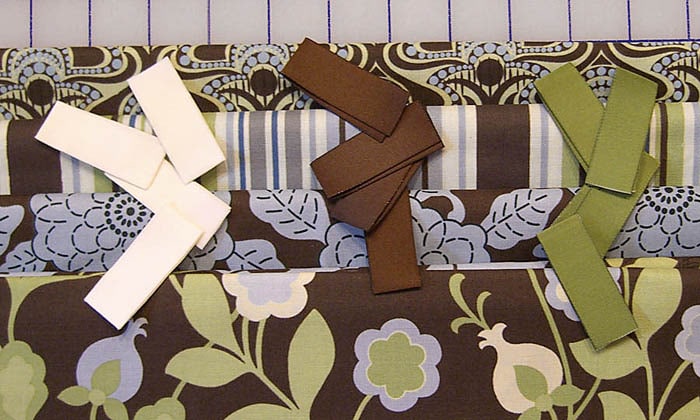
Audition the ribbon by putting in place to see how it will look on the finished bag.

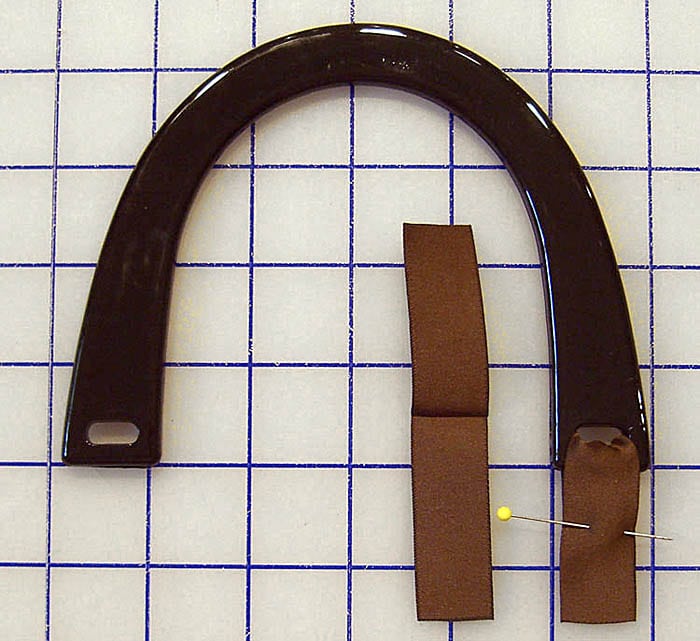
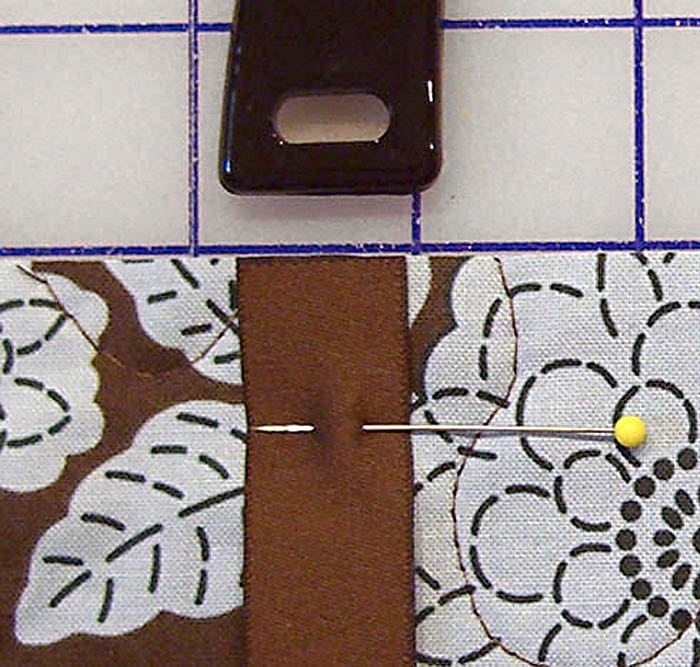
Fashion handles such as the black U-shaped handle offer a hole for attaching to your project. In most cases, you’ll need to attach a handle like this during construction. Others can be attached at the end.
Be sure to cut all ribbons to the same length so your handles will be even with each other when attached. Feed the ribbon through the hole on the handle, match the ends of the tab and pin to secure.
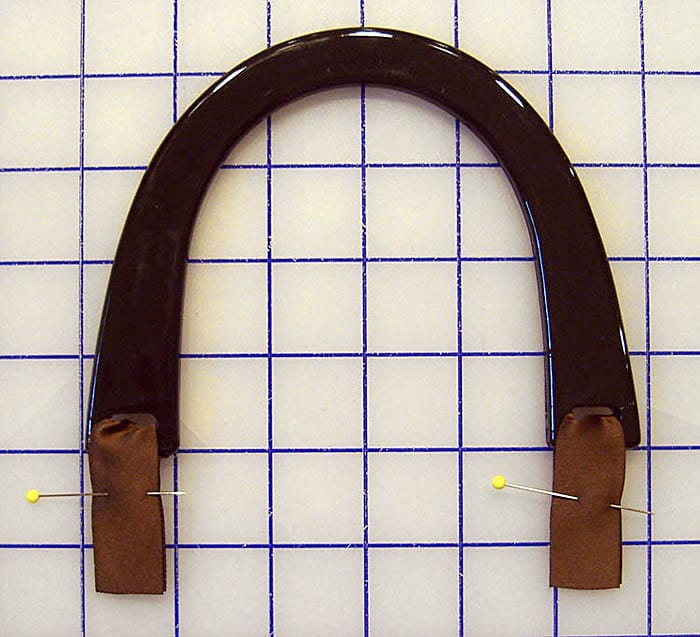
A length of 4″ and folded to 2″ is a good starting point. Of that 2″ length, you’ll need at least 1/4″ for a seam allowance. The ribbon can be pinned to match the end of the project as shown below.
For more security, extend the ribbon tab a little past the edge of the project so more of it is caught in the seam allowance. Be sure to extend all tabs the same amount to make the loops all the same size.

Attach Ribbon Tabs
Leave the pins in place on the tabs. Find the placement you need to center your handle on the project, then pin the tab ends to your project. Remove the first set of pins (closest to the handle) if you like. Complete your project as directed.

Construction Considerations
Be sure the ribbon loop is long enough to allow your sewing machine presser foot to pass by the fashion handle as you sew. If the presser foot runs into your handle, the project will shift and create an uneven or crooked line of stitching.
Detachable Handles
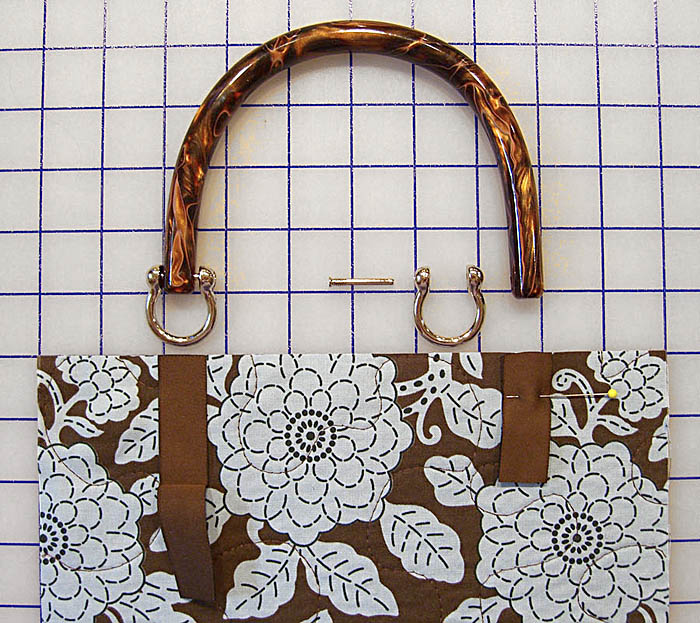
Some fashion handles have removable hardware, allowing you to add the handle at the end of the project. To do so, sew the ribbon tabs into place, creating loops. When your project is finished, feed the ‘U’ shaped hardware through the loop and secure the screw.
Shown here is an open ribbon tab to the left so you can see its length, and a folded tab pinned in place ready to sew to the right.
For more on choosing and attaching fashion handles, see our blog post here.
Attaching Other Accessories
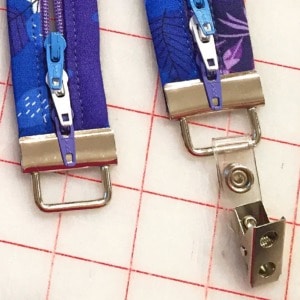
Many purse and bag accessories such as key rings, swivel clips, etc. Simply attach them during or after construction using these same techniques.
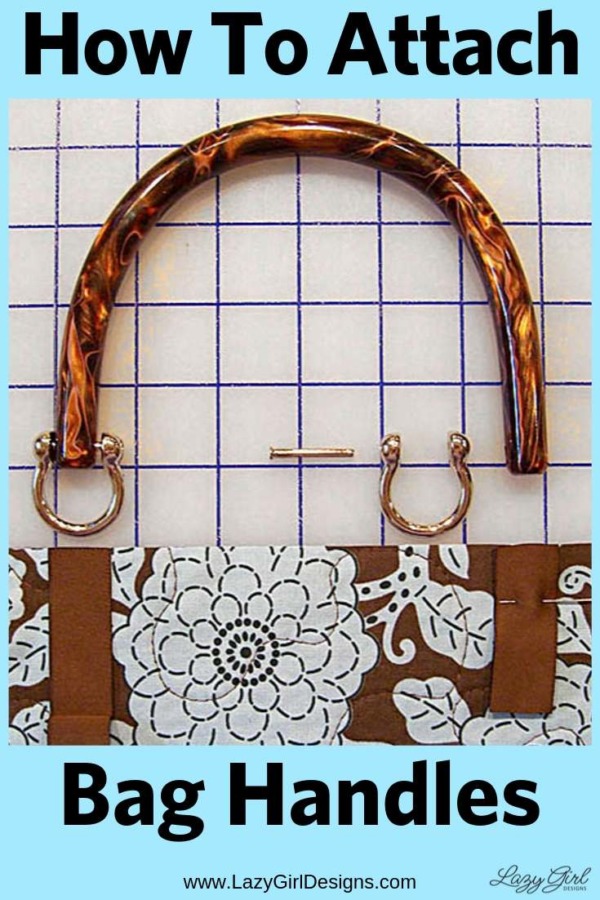
That’s Pinterest-ing!
Follow me on Pinterest and pin this post to your Pinterest boards.
Subscribe to receive emails for my blog and newsletters about new patterns and project ideas.
Enjoy!
Joan
Joan’s Sewing Group | Pinterest
Like and share this post with your stitchy friends.


Love using these. They are as easy as you explained!! I like not having to fight with the bulk!!
Great tutorial, I know they will be invaluable with our purse making addiction. They were so easy to use and I look forward to trying some of the other colors. I will use some in my Jump into June project. Stay tuned.
Penny
http://www.cottonvault.com
Hi Joan,
Thanks for the tutorial. I had never thought of so many different ways to use them. It is nice to see the picture also
Joan you have made this so simple! Thanks for the tutorial! You took great pics and gave great directions.
Creating a NEW bag is exciting, but doing the finishing touches can be that last step we just can’t get beyond, you have taken the step to get us through that.
Thank you, Thank you, Thank you!
Kim
Cheyenne2u.ioffer.com
These are great colors and will make my bags look even more professional.